
CUBA to Heroku in 10 steps
In this blog post, I will show you how to deploy a CUBA app to Heroku in ten steps (and probably ten minutes as well). With the Combination of CUBA, Github and Heroku you can focus on building your business logic. In this post, I will explain to you how to achieve that via a fast way to deploy your application.
What is Heroku
Heroku is a Cloud Vendor that provides hosting of application since almost 15 years ago. It originated in the ruby ecosystem, but quickly adopted wide popularity because of its ease of use for developers.
Heroku is a Platform as a Service offering (PaaS) which, compared to other solutions like AWS, Google Cloud, Kubernetes, EC2 / ECS, etc. provides a higher-level abstraction. Conceptually it fits into the same bucket as Cloud Foundry (or perhaps OpenShift). For deploying CUBA to Cloud Foundry I created a blog post quite some time ago: Platform on Platform - CUBA apps on Cloud Foundry .
Back then there was a lovely tweet from Simon Wardley which I included in the blog post. As this is still pretty much true now, let’s revisit it:
The entire PaaS vs Container (e.g. Docker) debate explained in one simple diagram - pic.twitter.com/B0oib5gihz
— swardley (@swardley) 7. November 2015
So the takeaway of the PaaS idea is: there is a lot more to provide developers/businesses an easy to use infrastructure platform than any Kubernetes et al. can provide. The reason is their target audience. For Kubernetes the main purpose is not to provide a PaaS experience out of the box. Instead, it is a framework for managing and deploying containerized applications at scale. You can also see that by the fact that there is software built on top of Kubernetes, that goes into the direction of a PaaS-like experience. Examples of that would be OpenShift from Red Hat or Rancher.
The PaaS Experience

So what is the PaaS experience then? This is a good question. It is a little hard to describe, but it boils down to the removal friction of the application developer. Instead of having to have the mental burden on the developer to think about infrastructure concepts, a PaaS tries to replace it with higher level primitives, that encapsulate a lot of details that are not critical to know about or configure for a certain set of applications.
One concrete example of that in the Heroku world: When you want to run an application on Heroku, you have to create something that is called an “app” on the Heroku dashboard. This represents your application as a conceptual thing. This name on its own is somewhat interesting. An “app” is a concept that you will hardly find in any IaaS provider naming. Instead you will find something like “Service”, “Container”, “Virtual Machine”, etc. This shows in a very simplistic way the different abstraction levels that you will find in those two worlds.
It e.g. requires that you point the “app” to your Github repository. Once this is done, the PaaS “knows” how to run the application. And with a click of one button, it does run it.
There is very little to no need to know about stuff like:
- Replica Sets
- Port Mappings
- Docker Images
- Linux Security patches
- SSH keys
- …
The Platform takes care of that for you. That sounds almost too good to be true, right? Well, yes. To a certain degree, it is like that. Of course with higher-level abstraction you lose flexibility. Also, the total amount of application that could potentially run on a PaaS is much smaller than on an infrastructure provider.
In this blog post, let’s concentrate a little on how to deploy the CUBA Petclinic application to Heroku. This way you can feel the PaaS experience on your own.
mariodavid/cuba-petclinic-heroku
Video Tutorial
You can either follow the blog post in the written form here or alternatively I have captured the same steps in a video tutorial, that you can also take a look at:
Heroku Deployment
This example shows how to easily deploy the Petclinic application to Heroku. Compared to other cloud providers and solutions, Heroku is very high level in its building blocks. This means that the application developer that just wants to “host a CUBA application” somewhere, can achieve that goal with very little “heavy lifting” on the operations side.
In this example, I will guide you through the steps that are necessary to deploy the Petclinic project to Heroku.

Step 1: Heroku and Github Account
The first step is that you have both a Heroku and a Github account. Luckily both of them are free, so there is no problem here. Also running the application on Heroku for demo purposes is free, which gives you the ability to play around with it.
The reason I chose Github is, that the source code integration from Github to Heroku is as seamless as it can be.
In that respect all three choices: CUBA, Github and Heroku allow you as the application developer to focus on the most important thing:
Focus on your business application
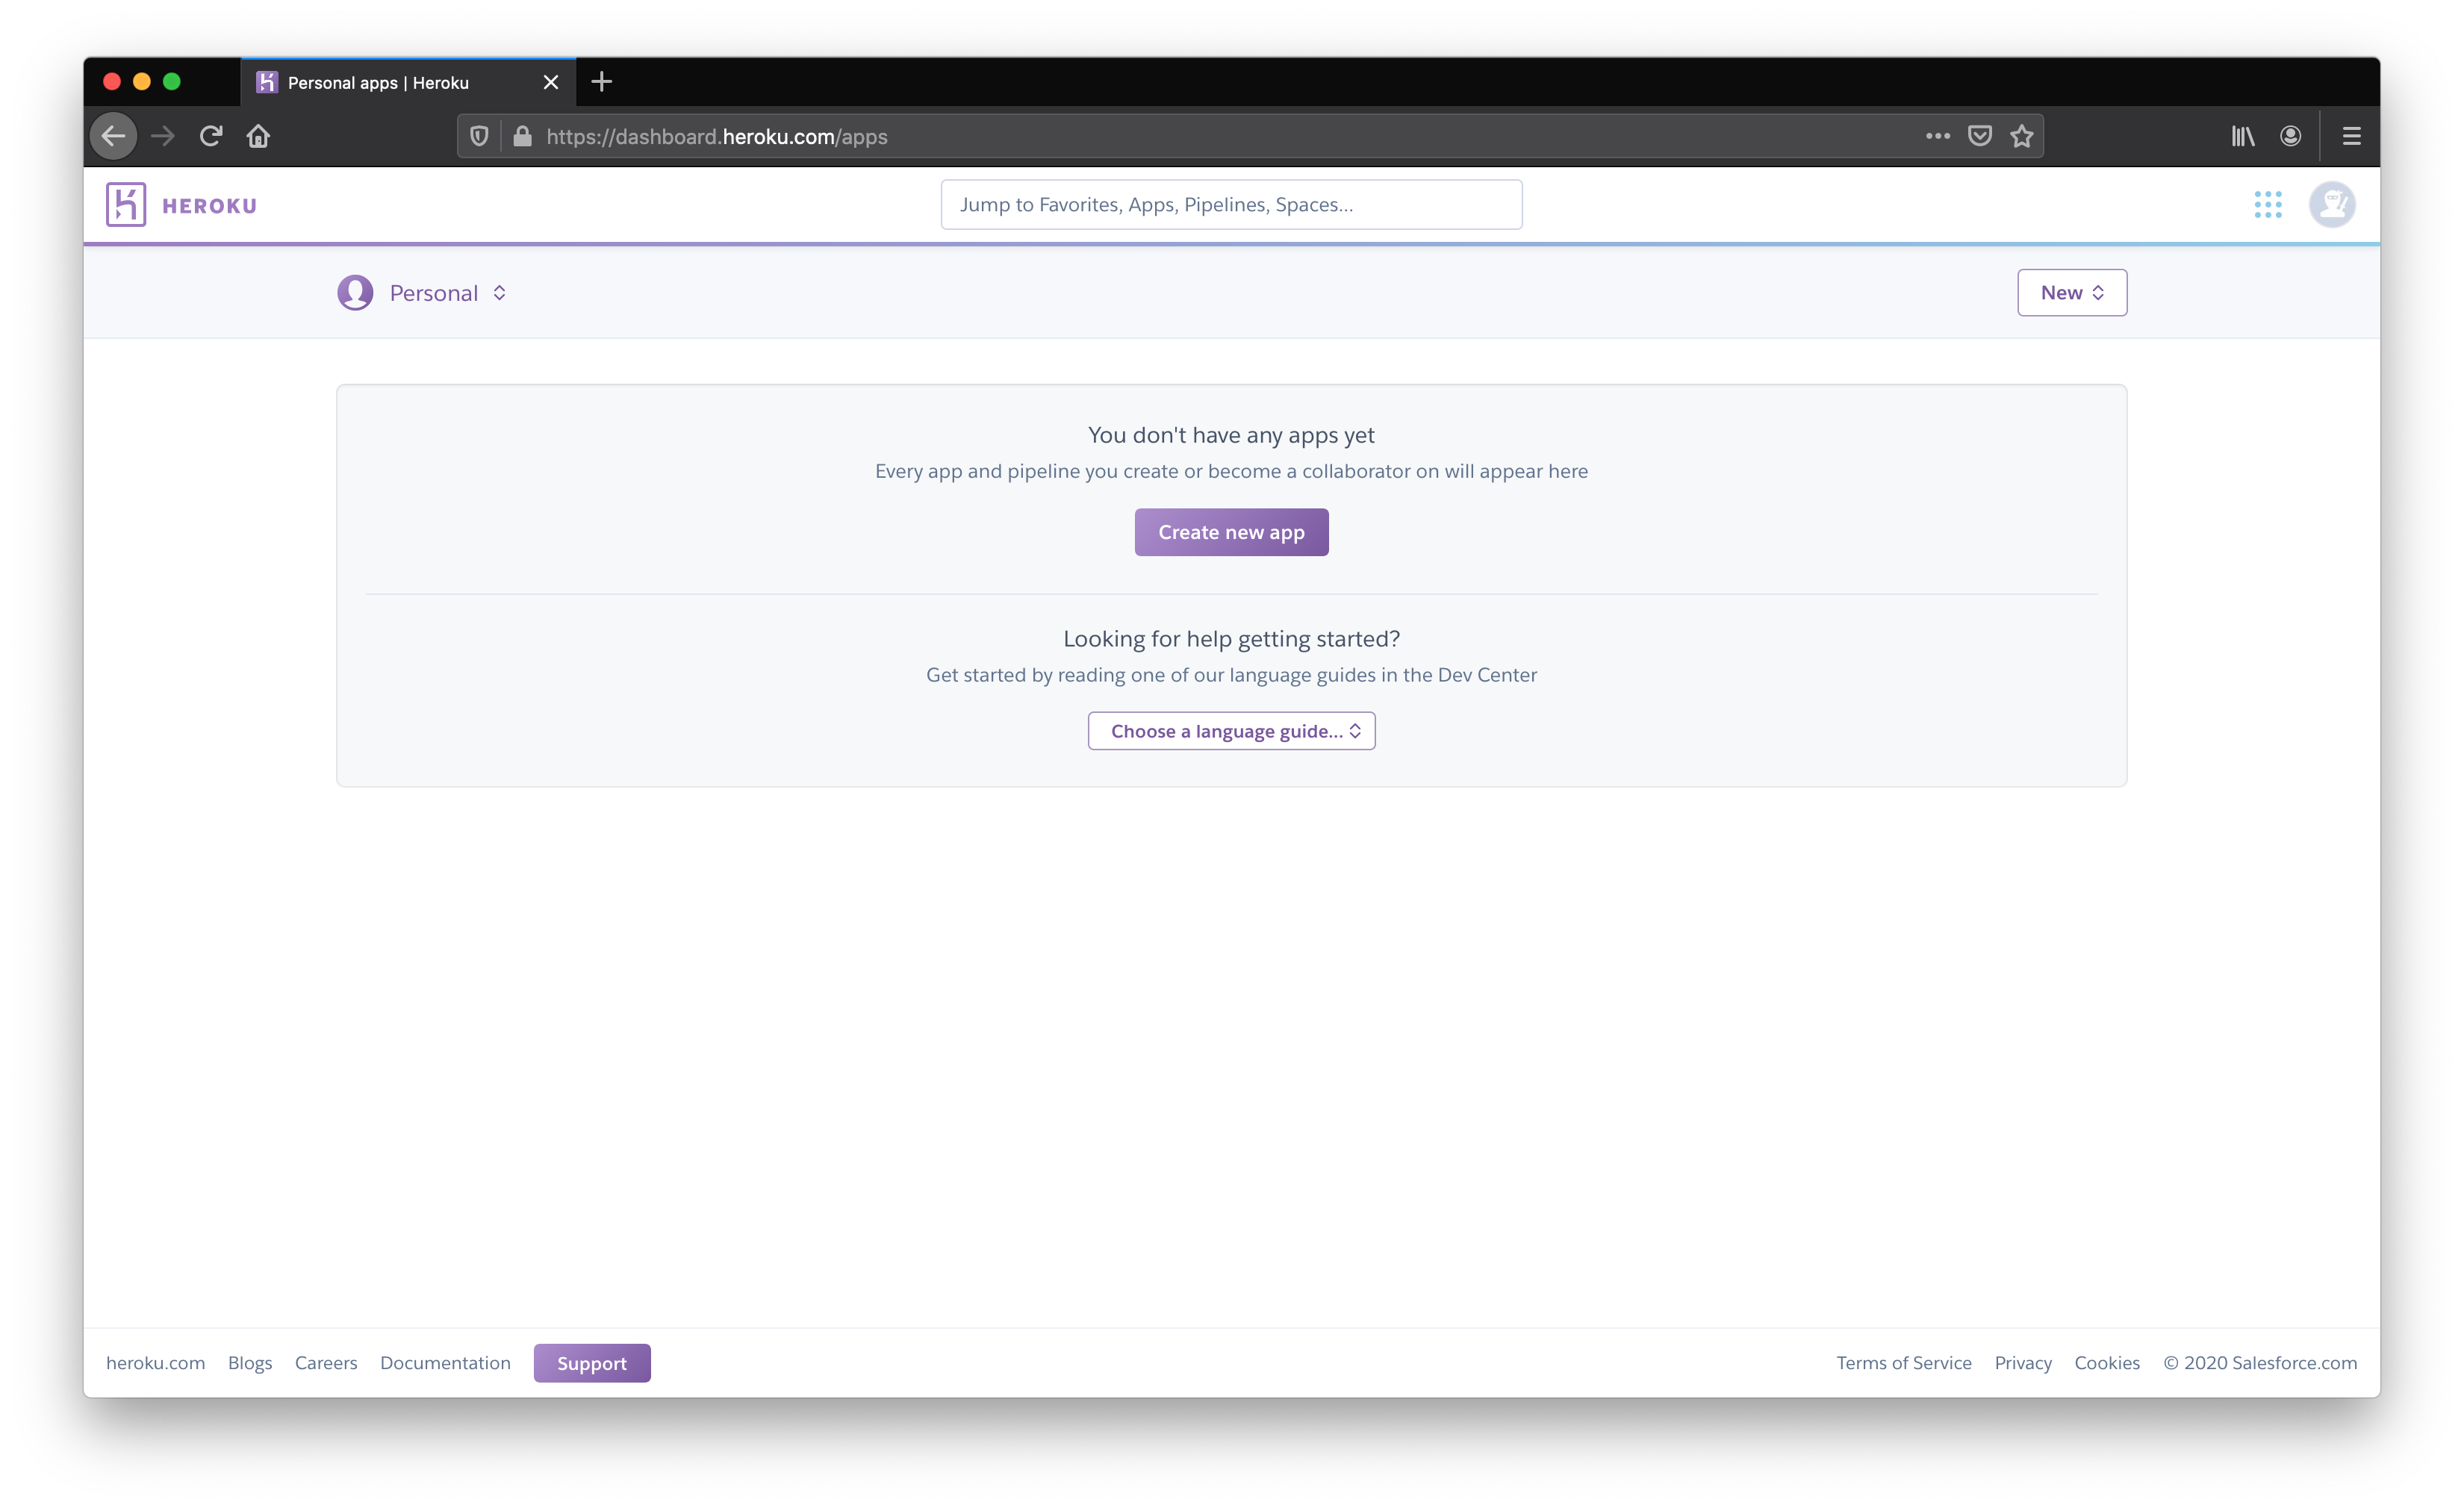
After creating the accounts in both services, you will see the Heroku dashboard, where it is possible to create an “app”:

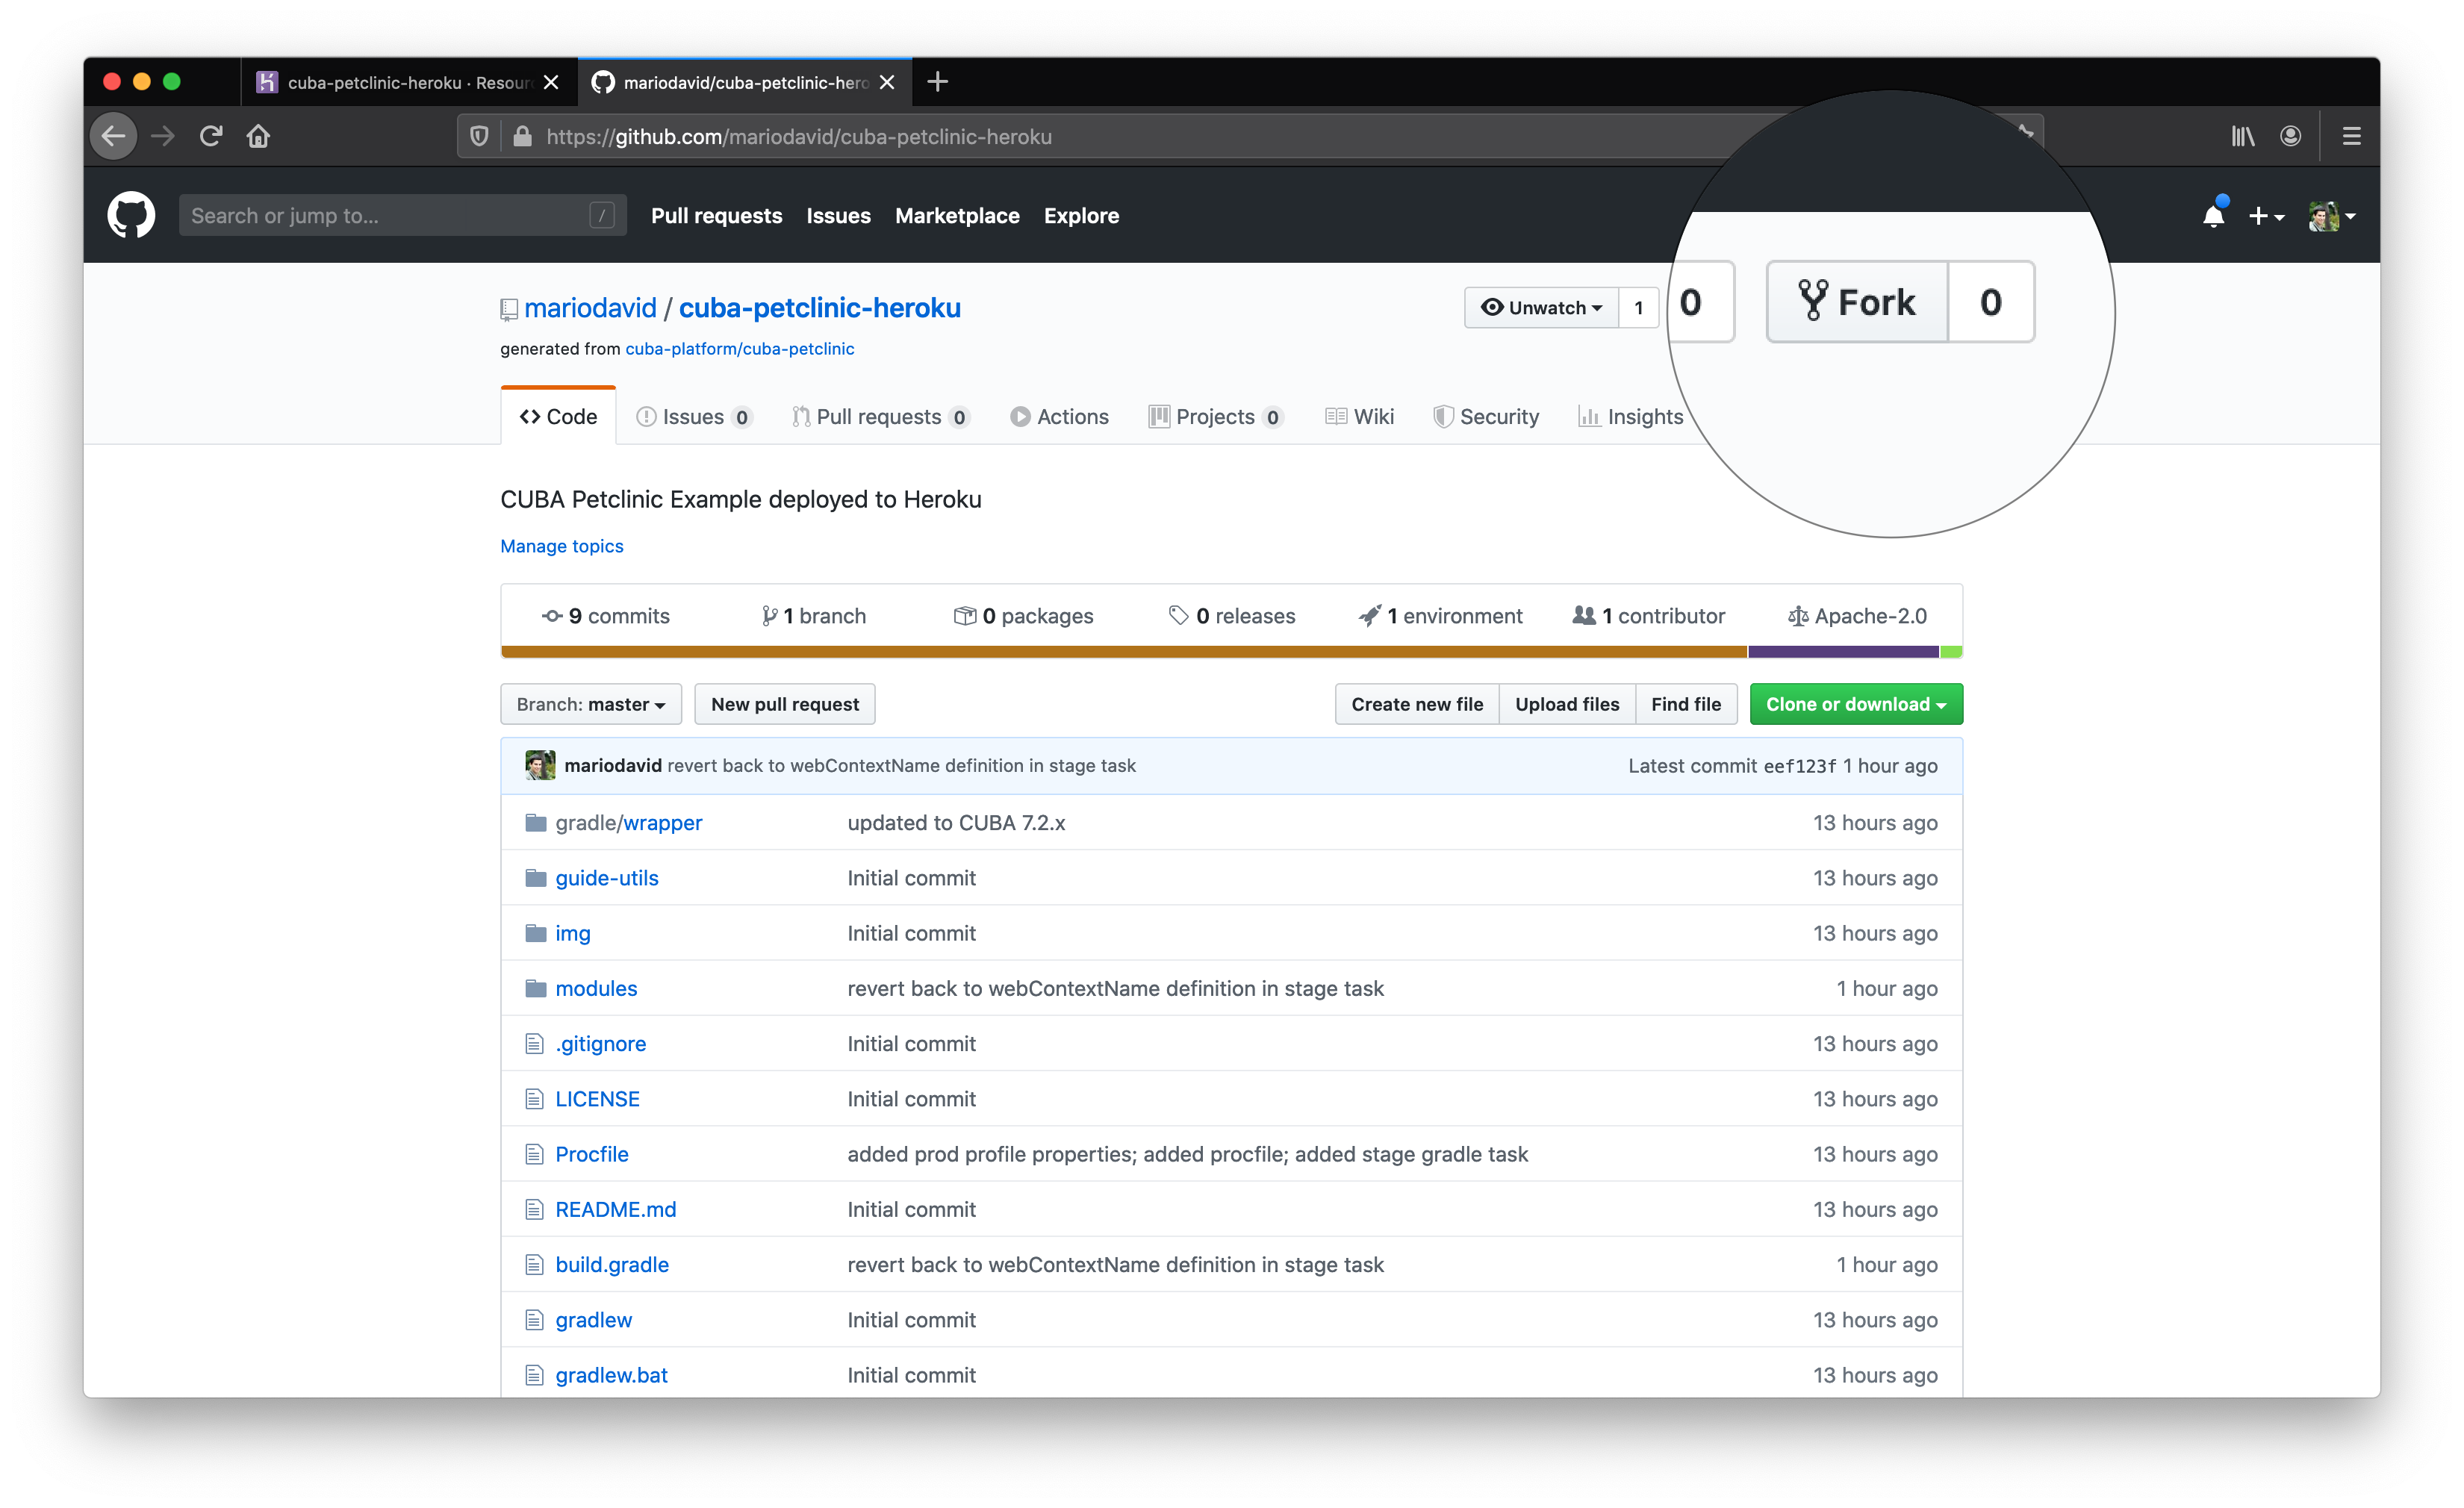
Step 2: Create a Github repository and push application
The first step is to put your CUBA application source code into Github source control. If you want to have a quick start you can use the fork button on this repository, which will create a copy of this example app under your name that you can use for the tutorial.

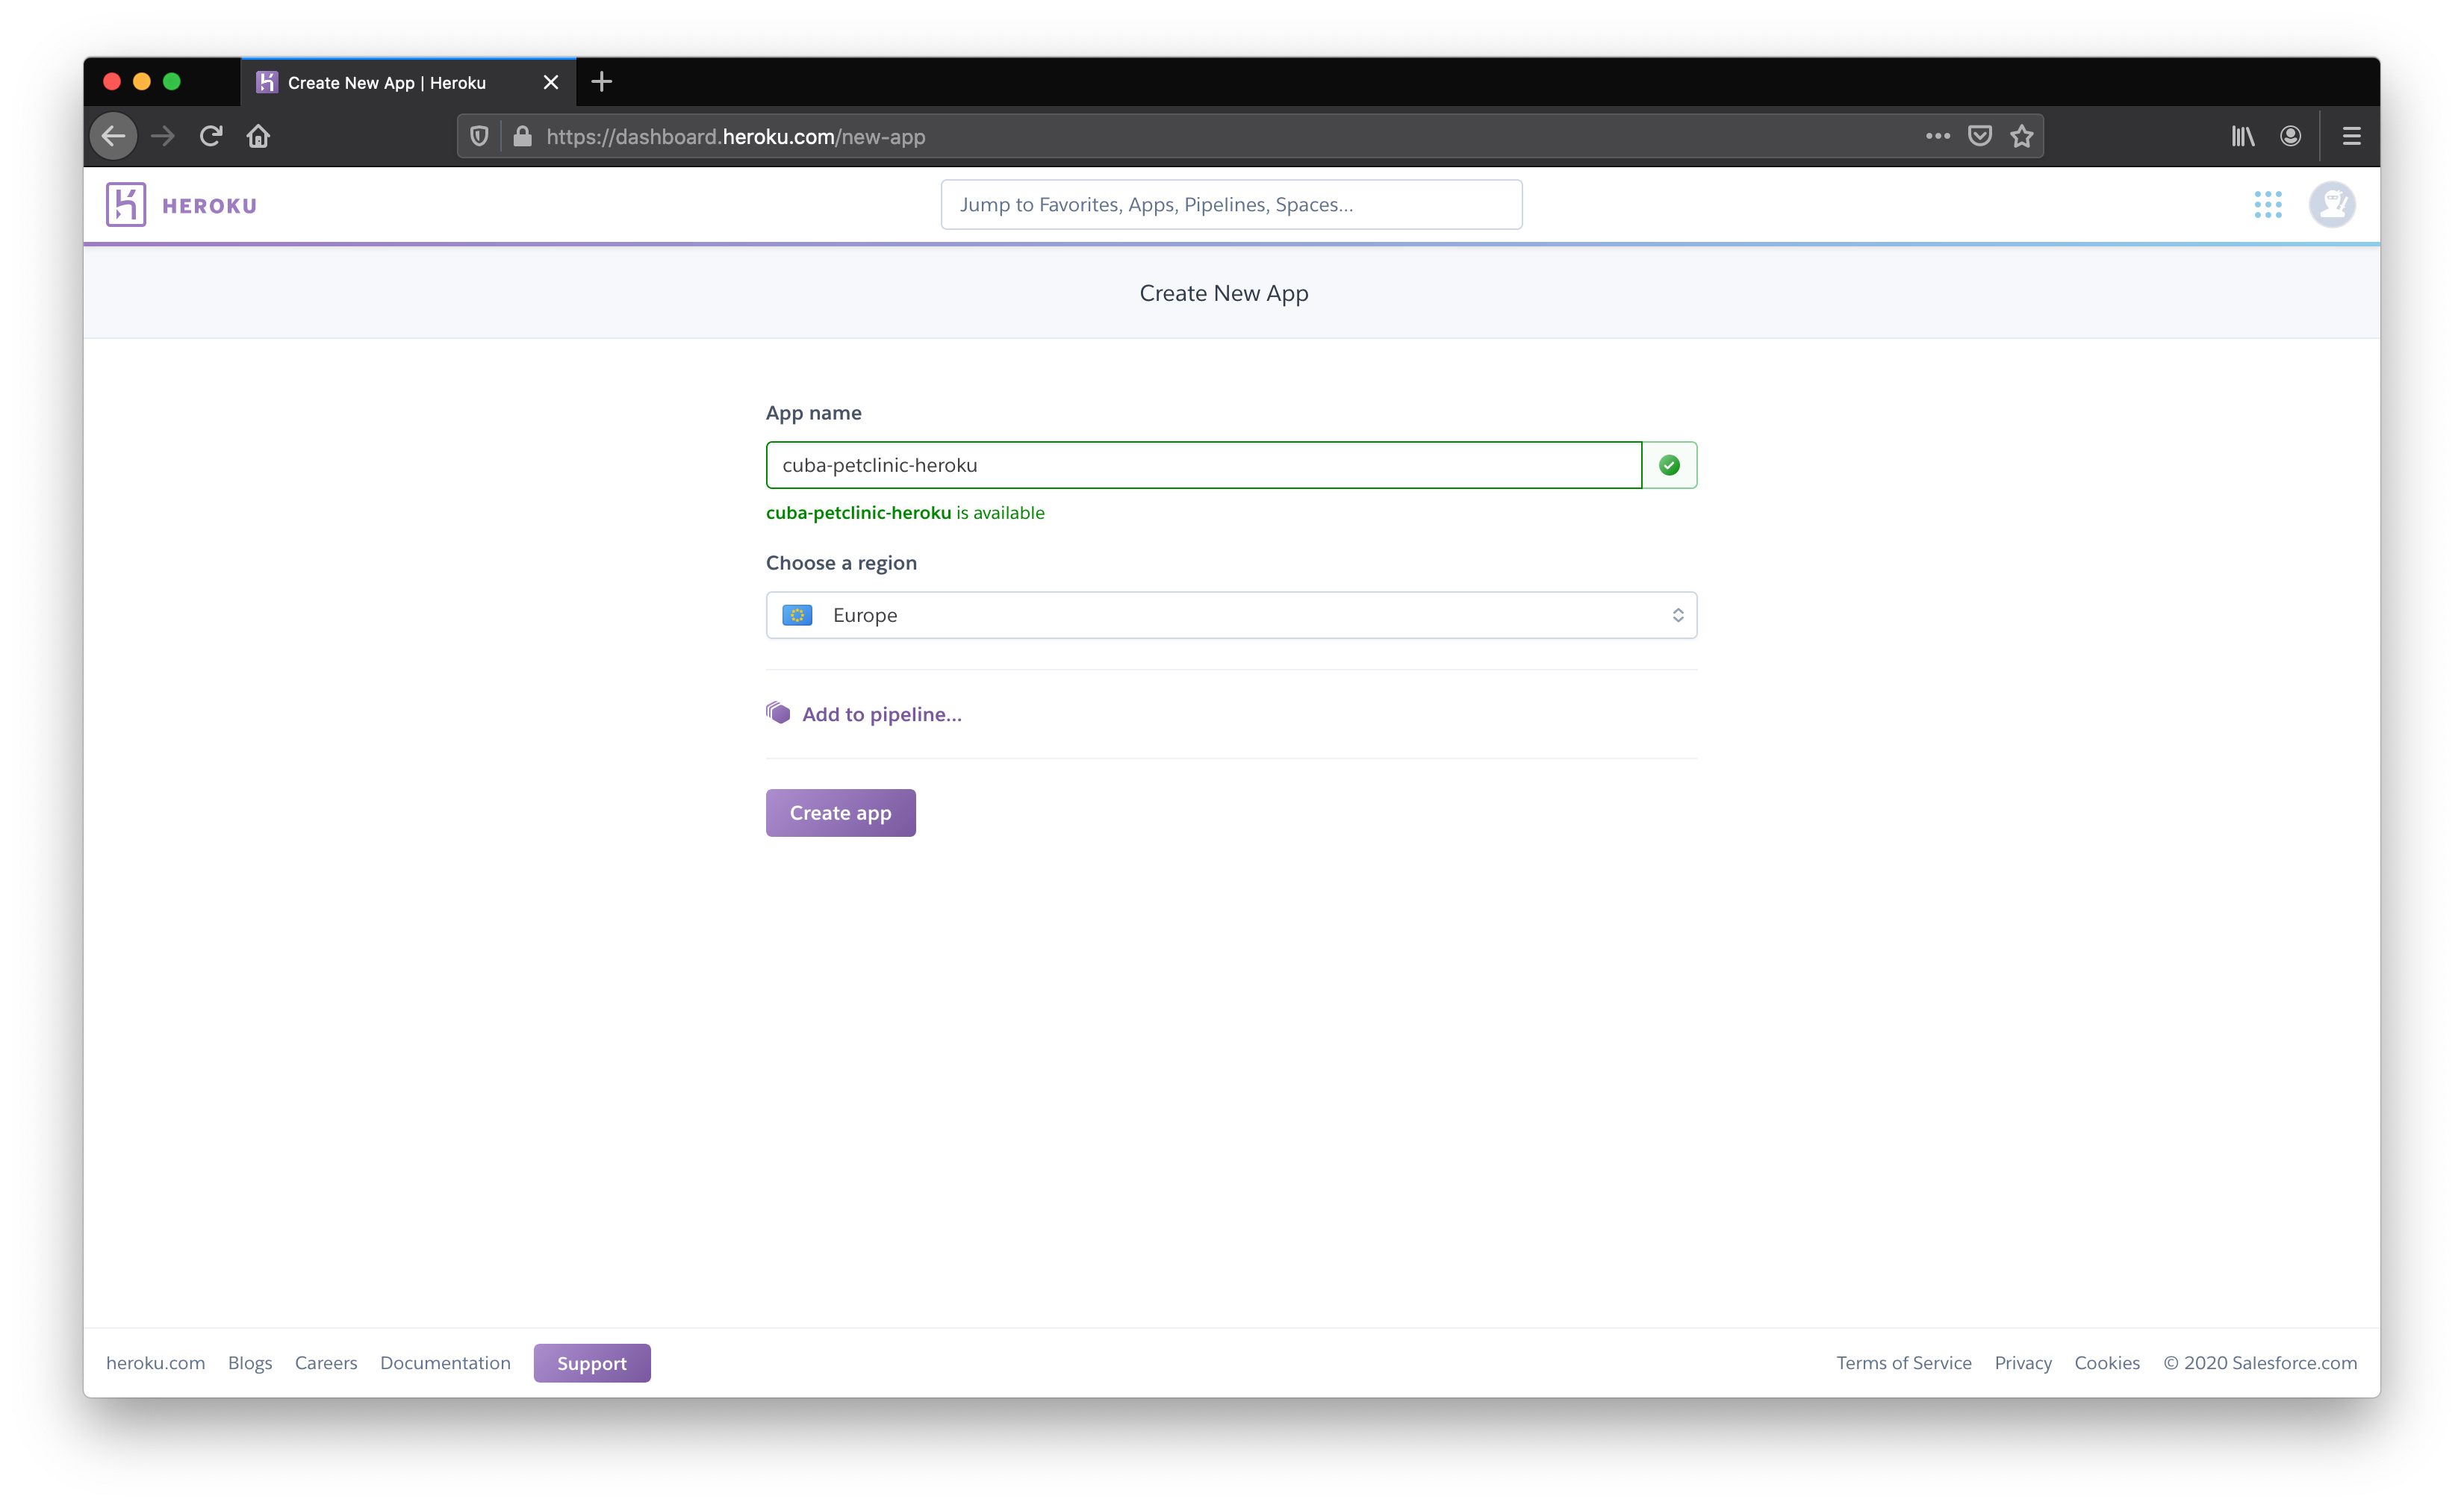
Step 3: Create App in Heroku
The next step is to create the app in Heroku. It needs a unique name and a region where it should run.

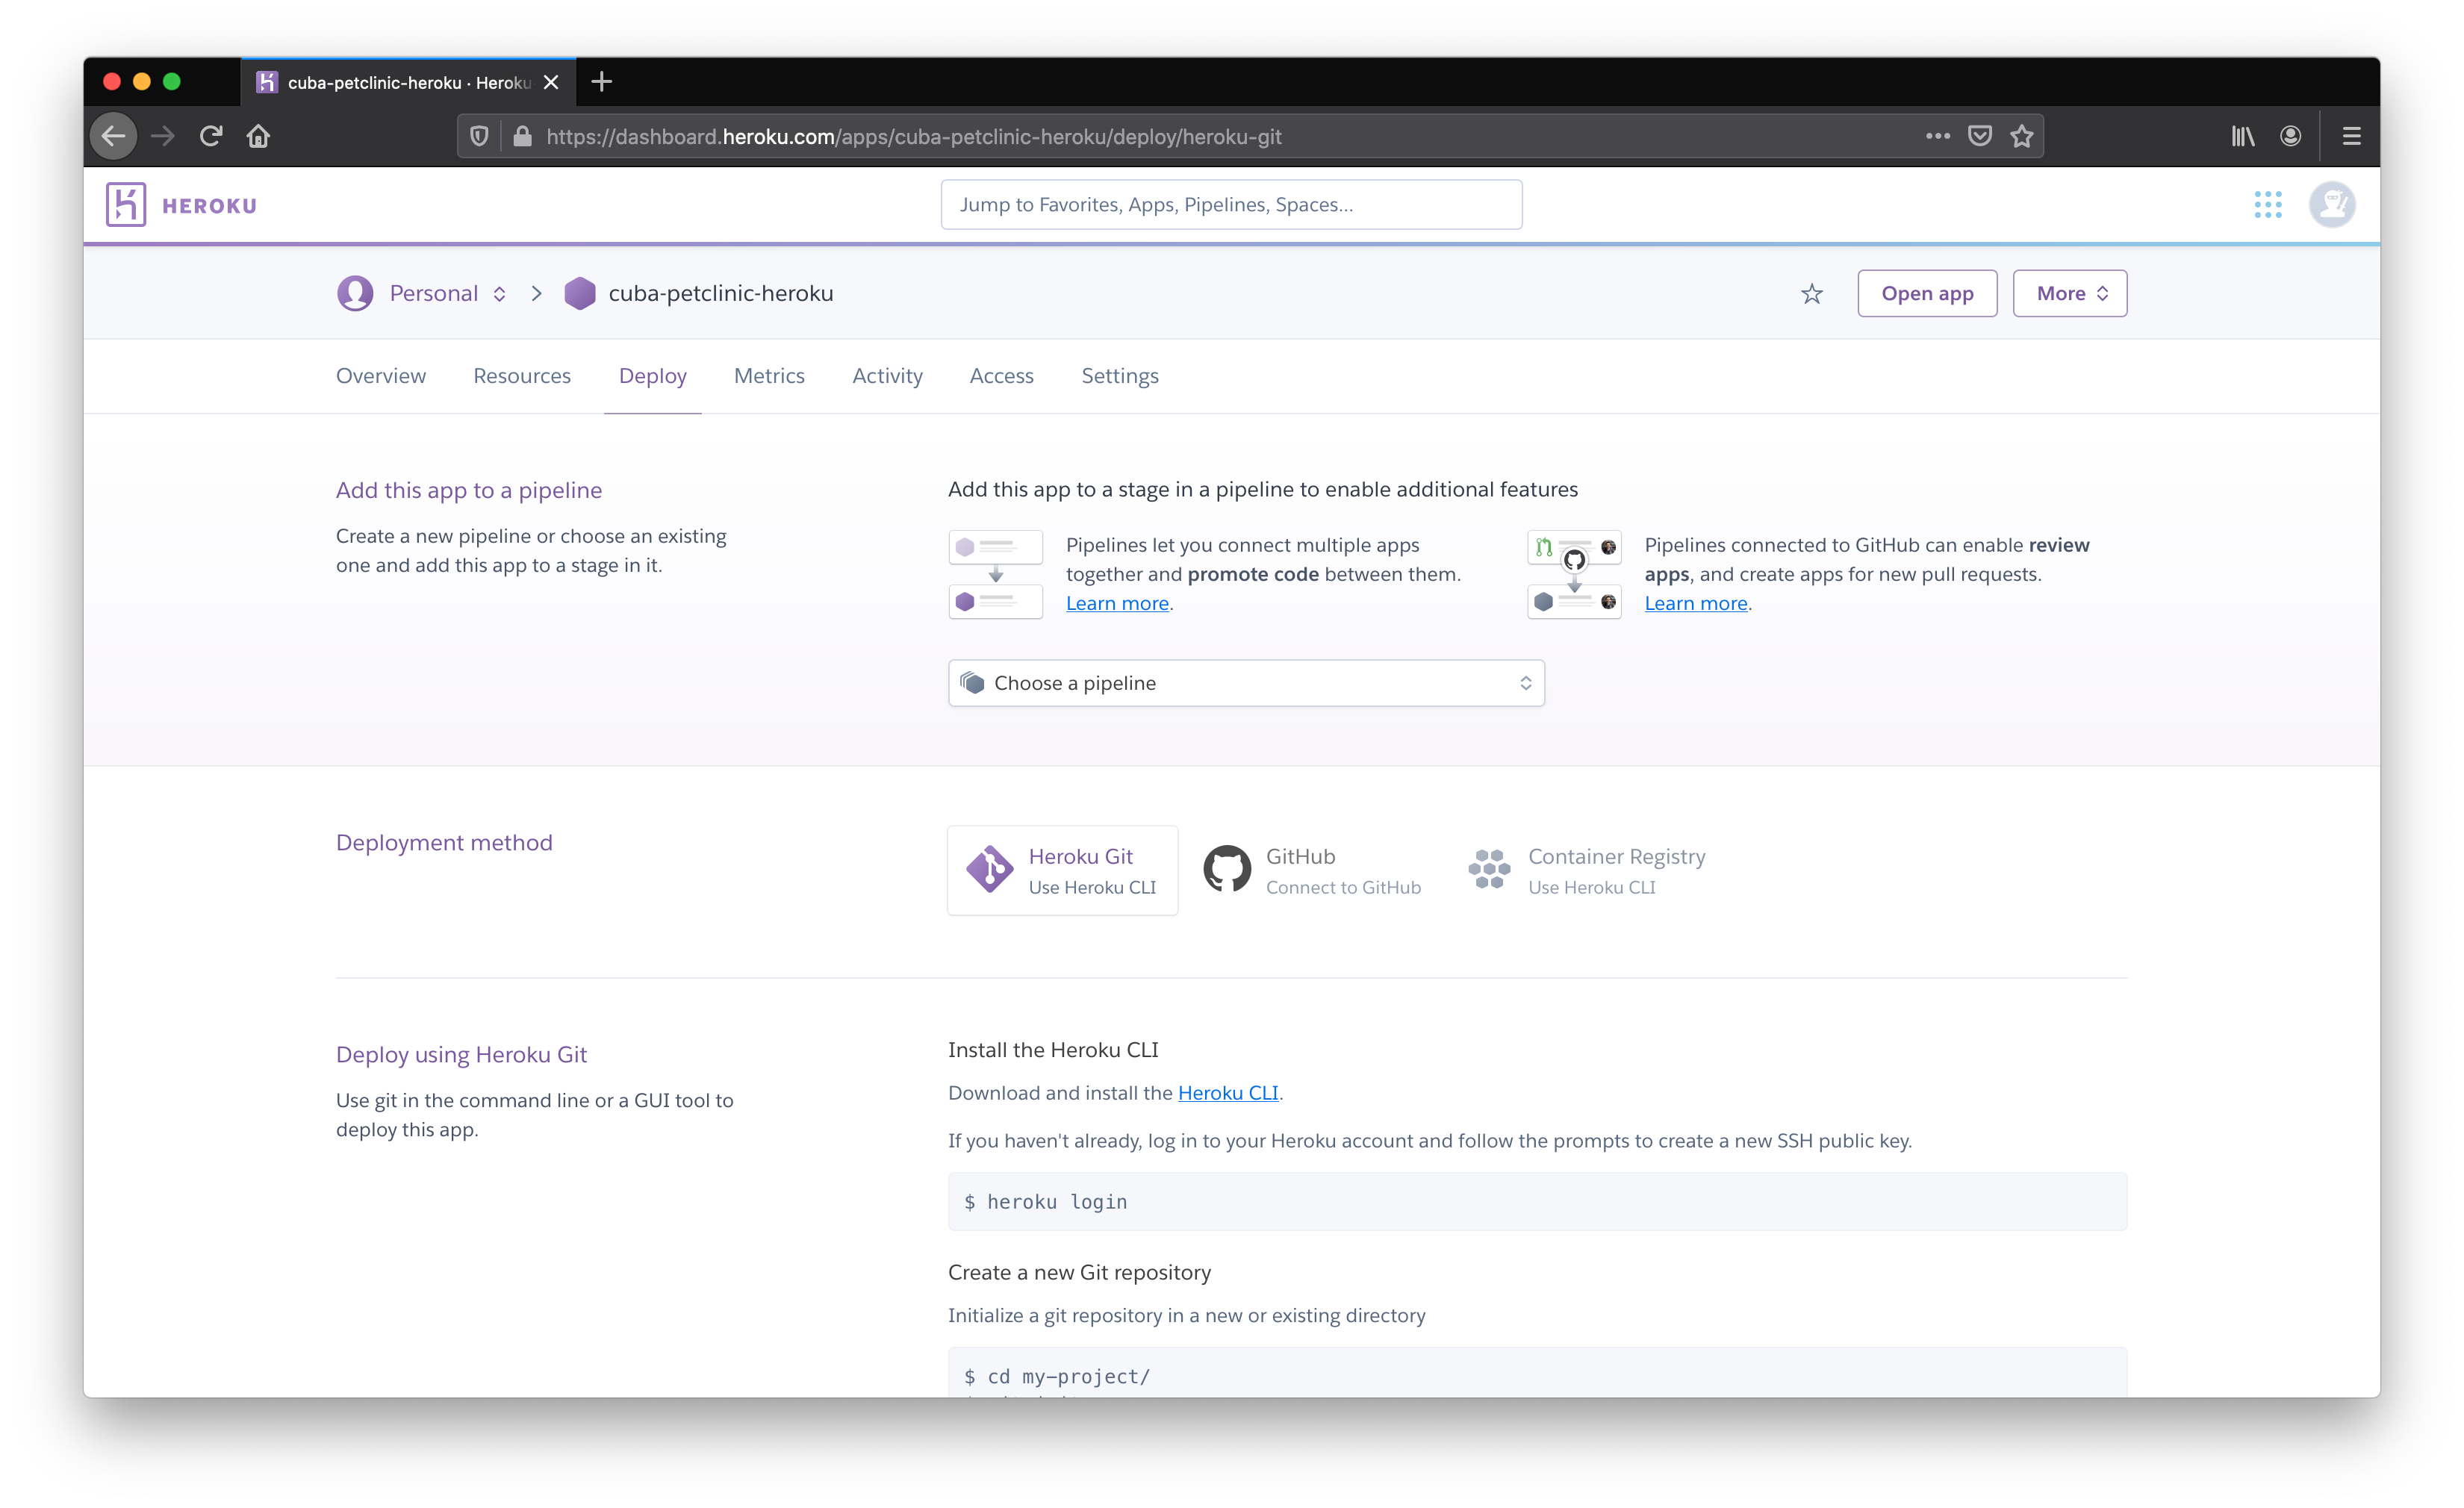
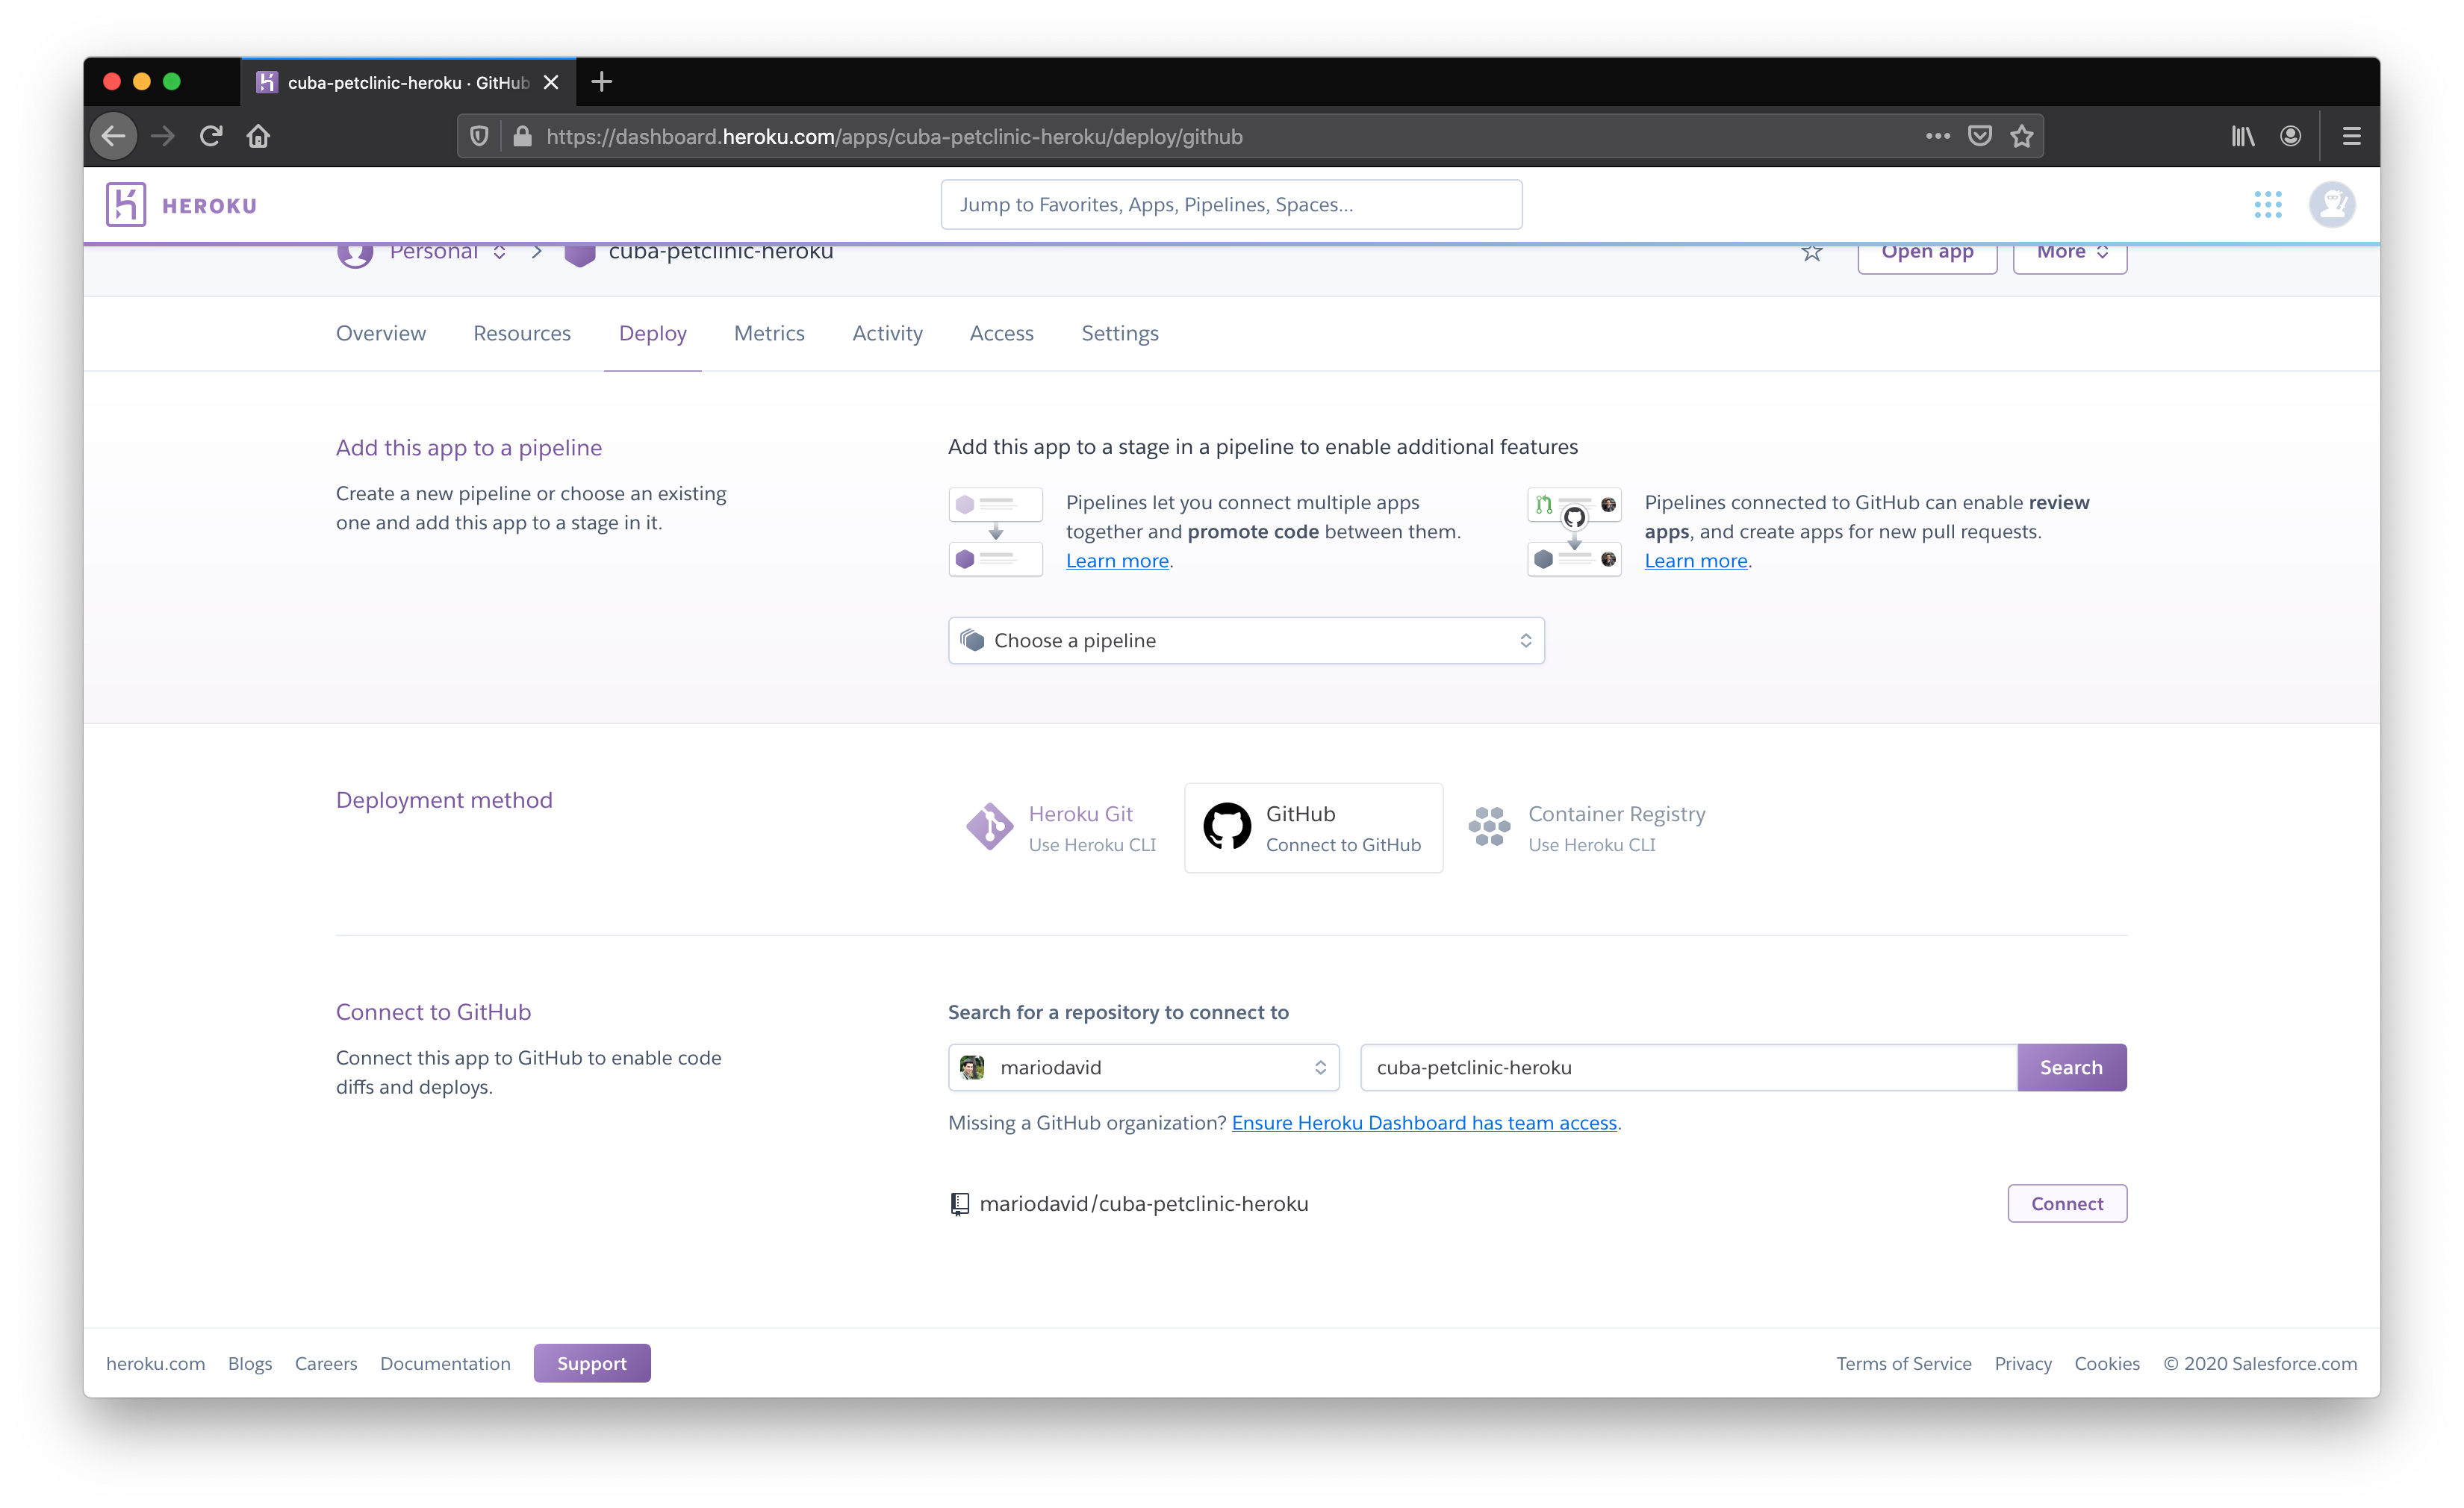
Step 4: Connect App to Github
To run the Petclinic app, Heroku needs to know where to get the application source code from. This we achieve by connecting the Heroku app to a particular Github repository.

Step 5: Automatic Deployments
After the App is connected to the Github Repository, it is now possible to configure an automatic deploy, once a push to the Github repository is performed by the developer.
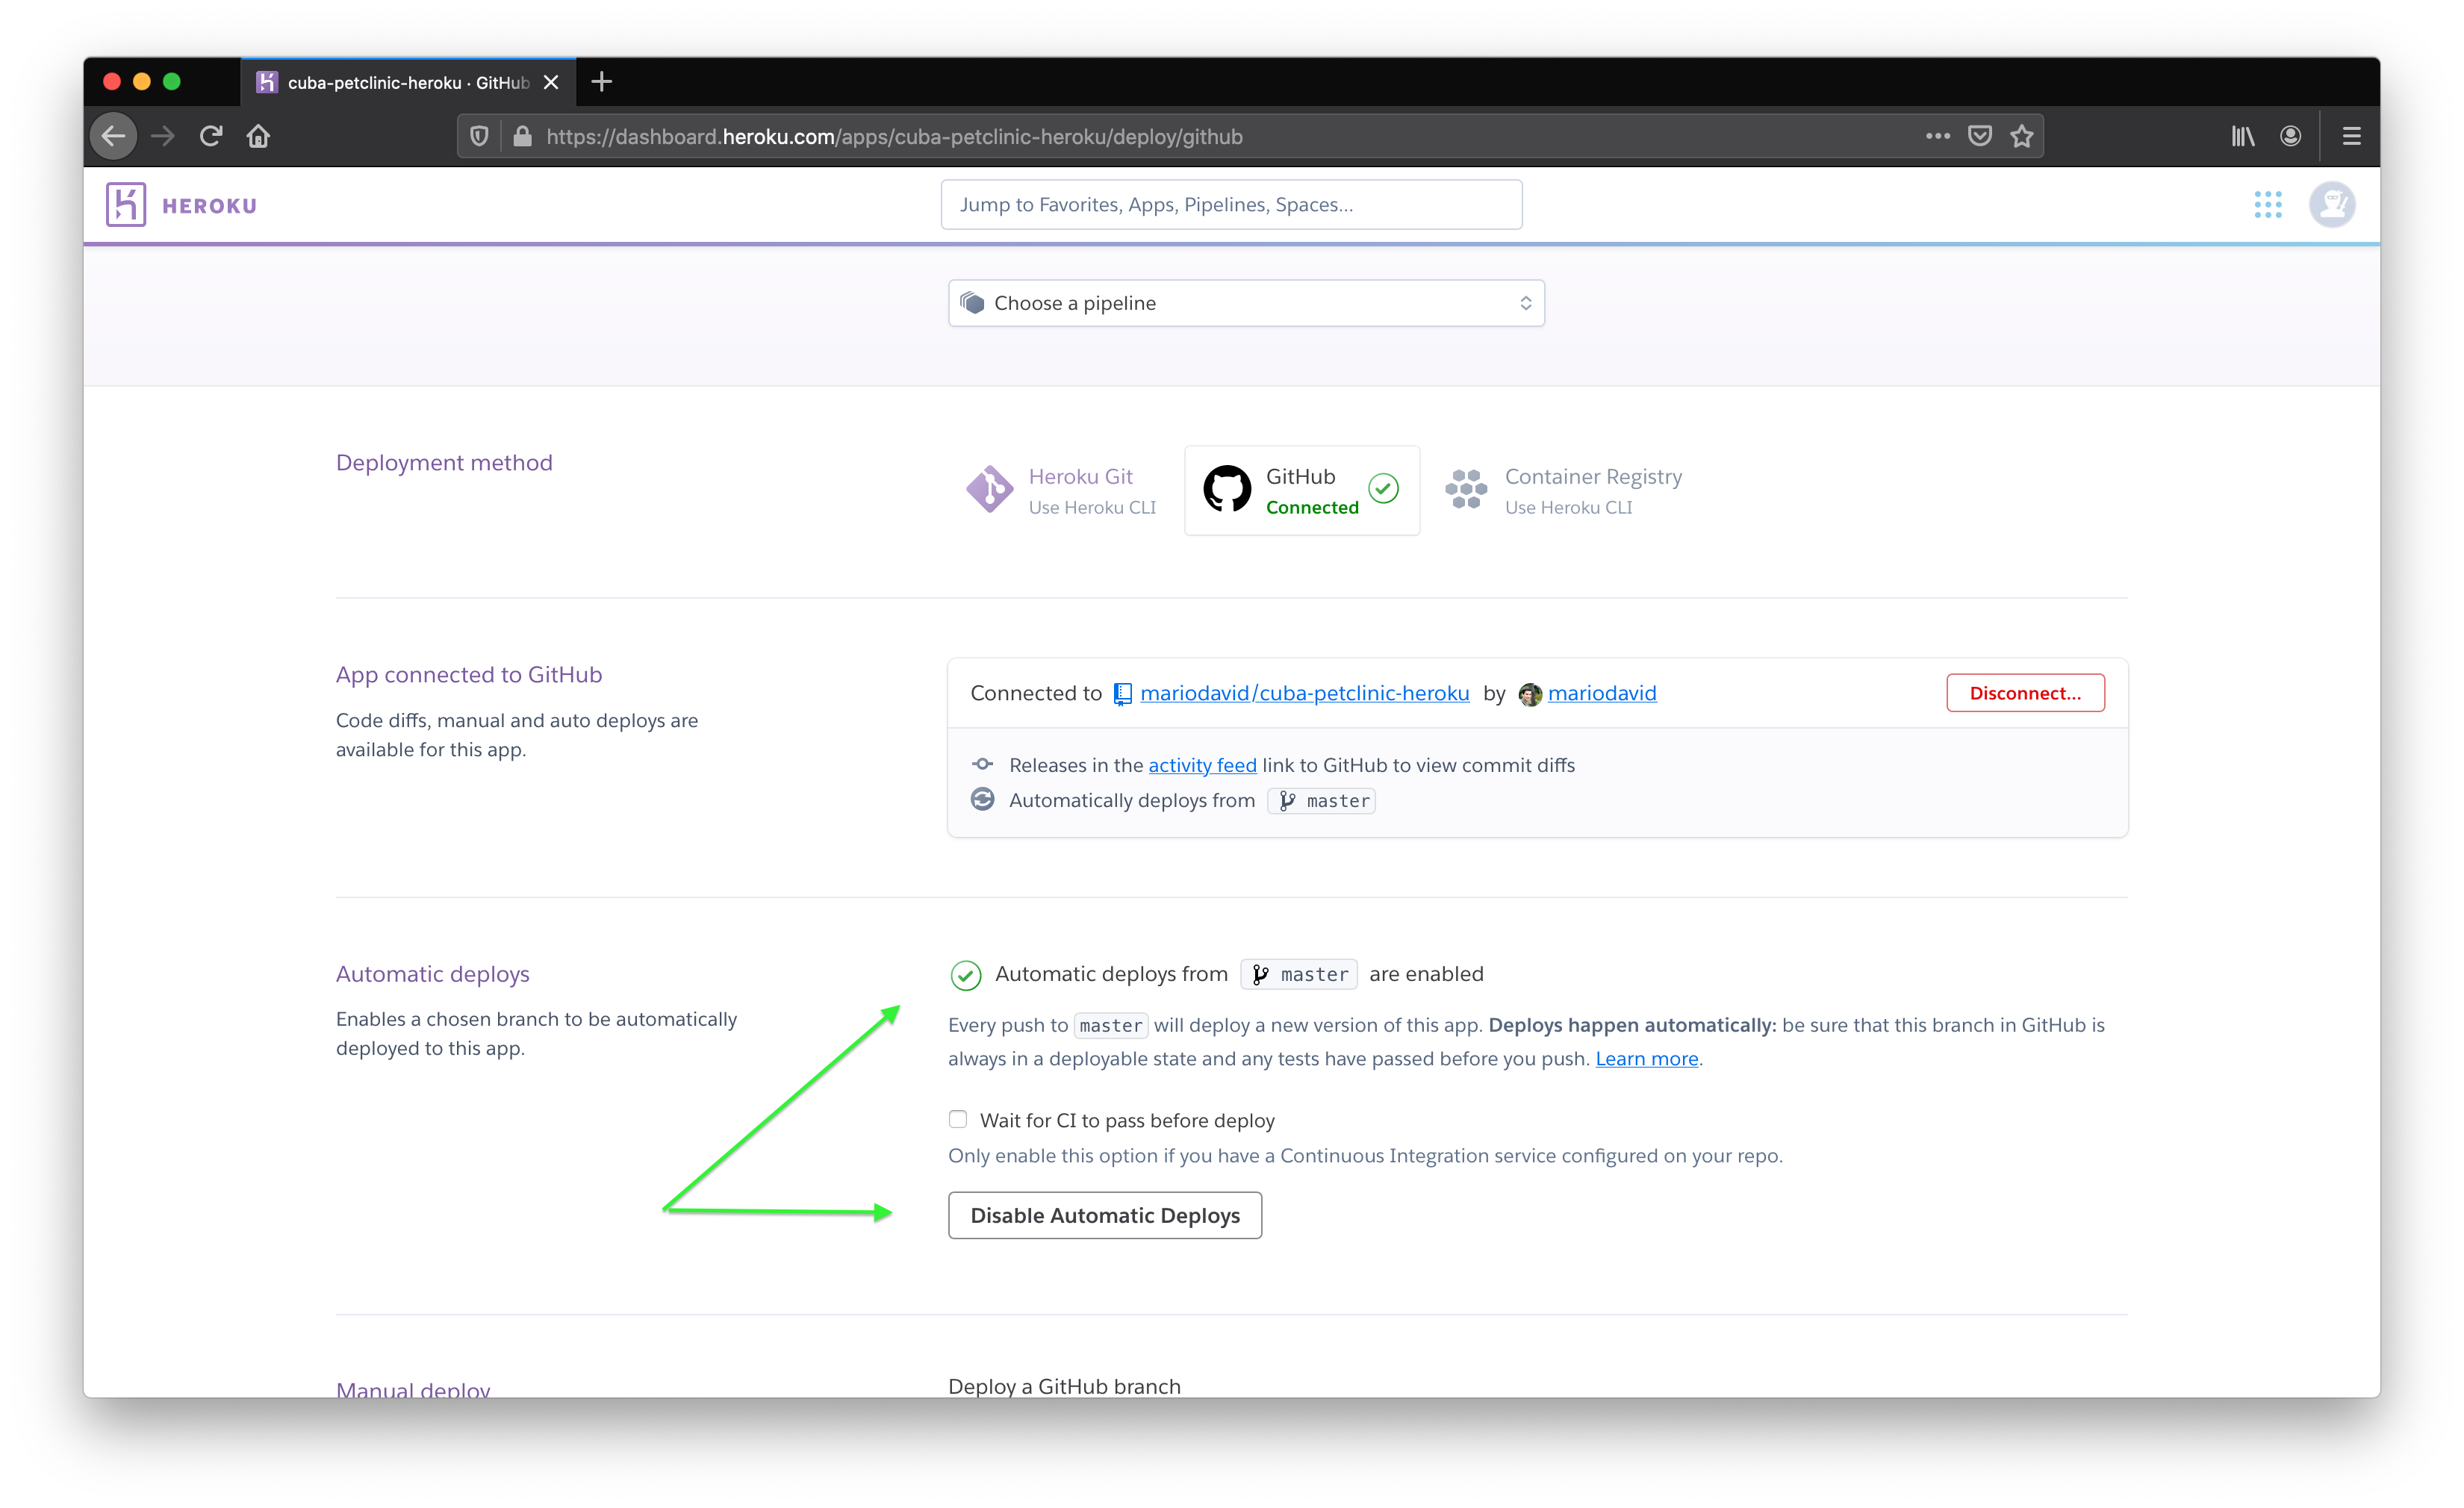
We also activate the option to let Heroku wait for the CI server to finish. Only for a successful CI build, the deployment is performed.

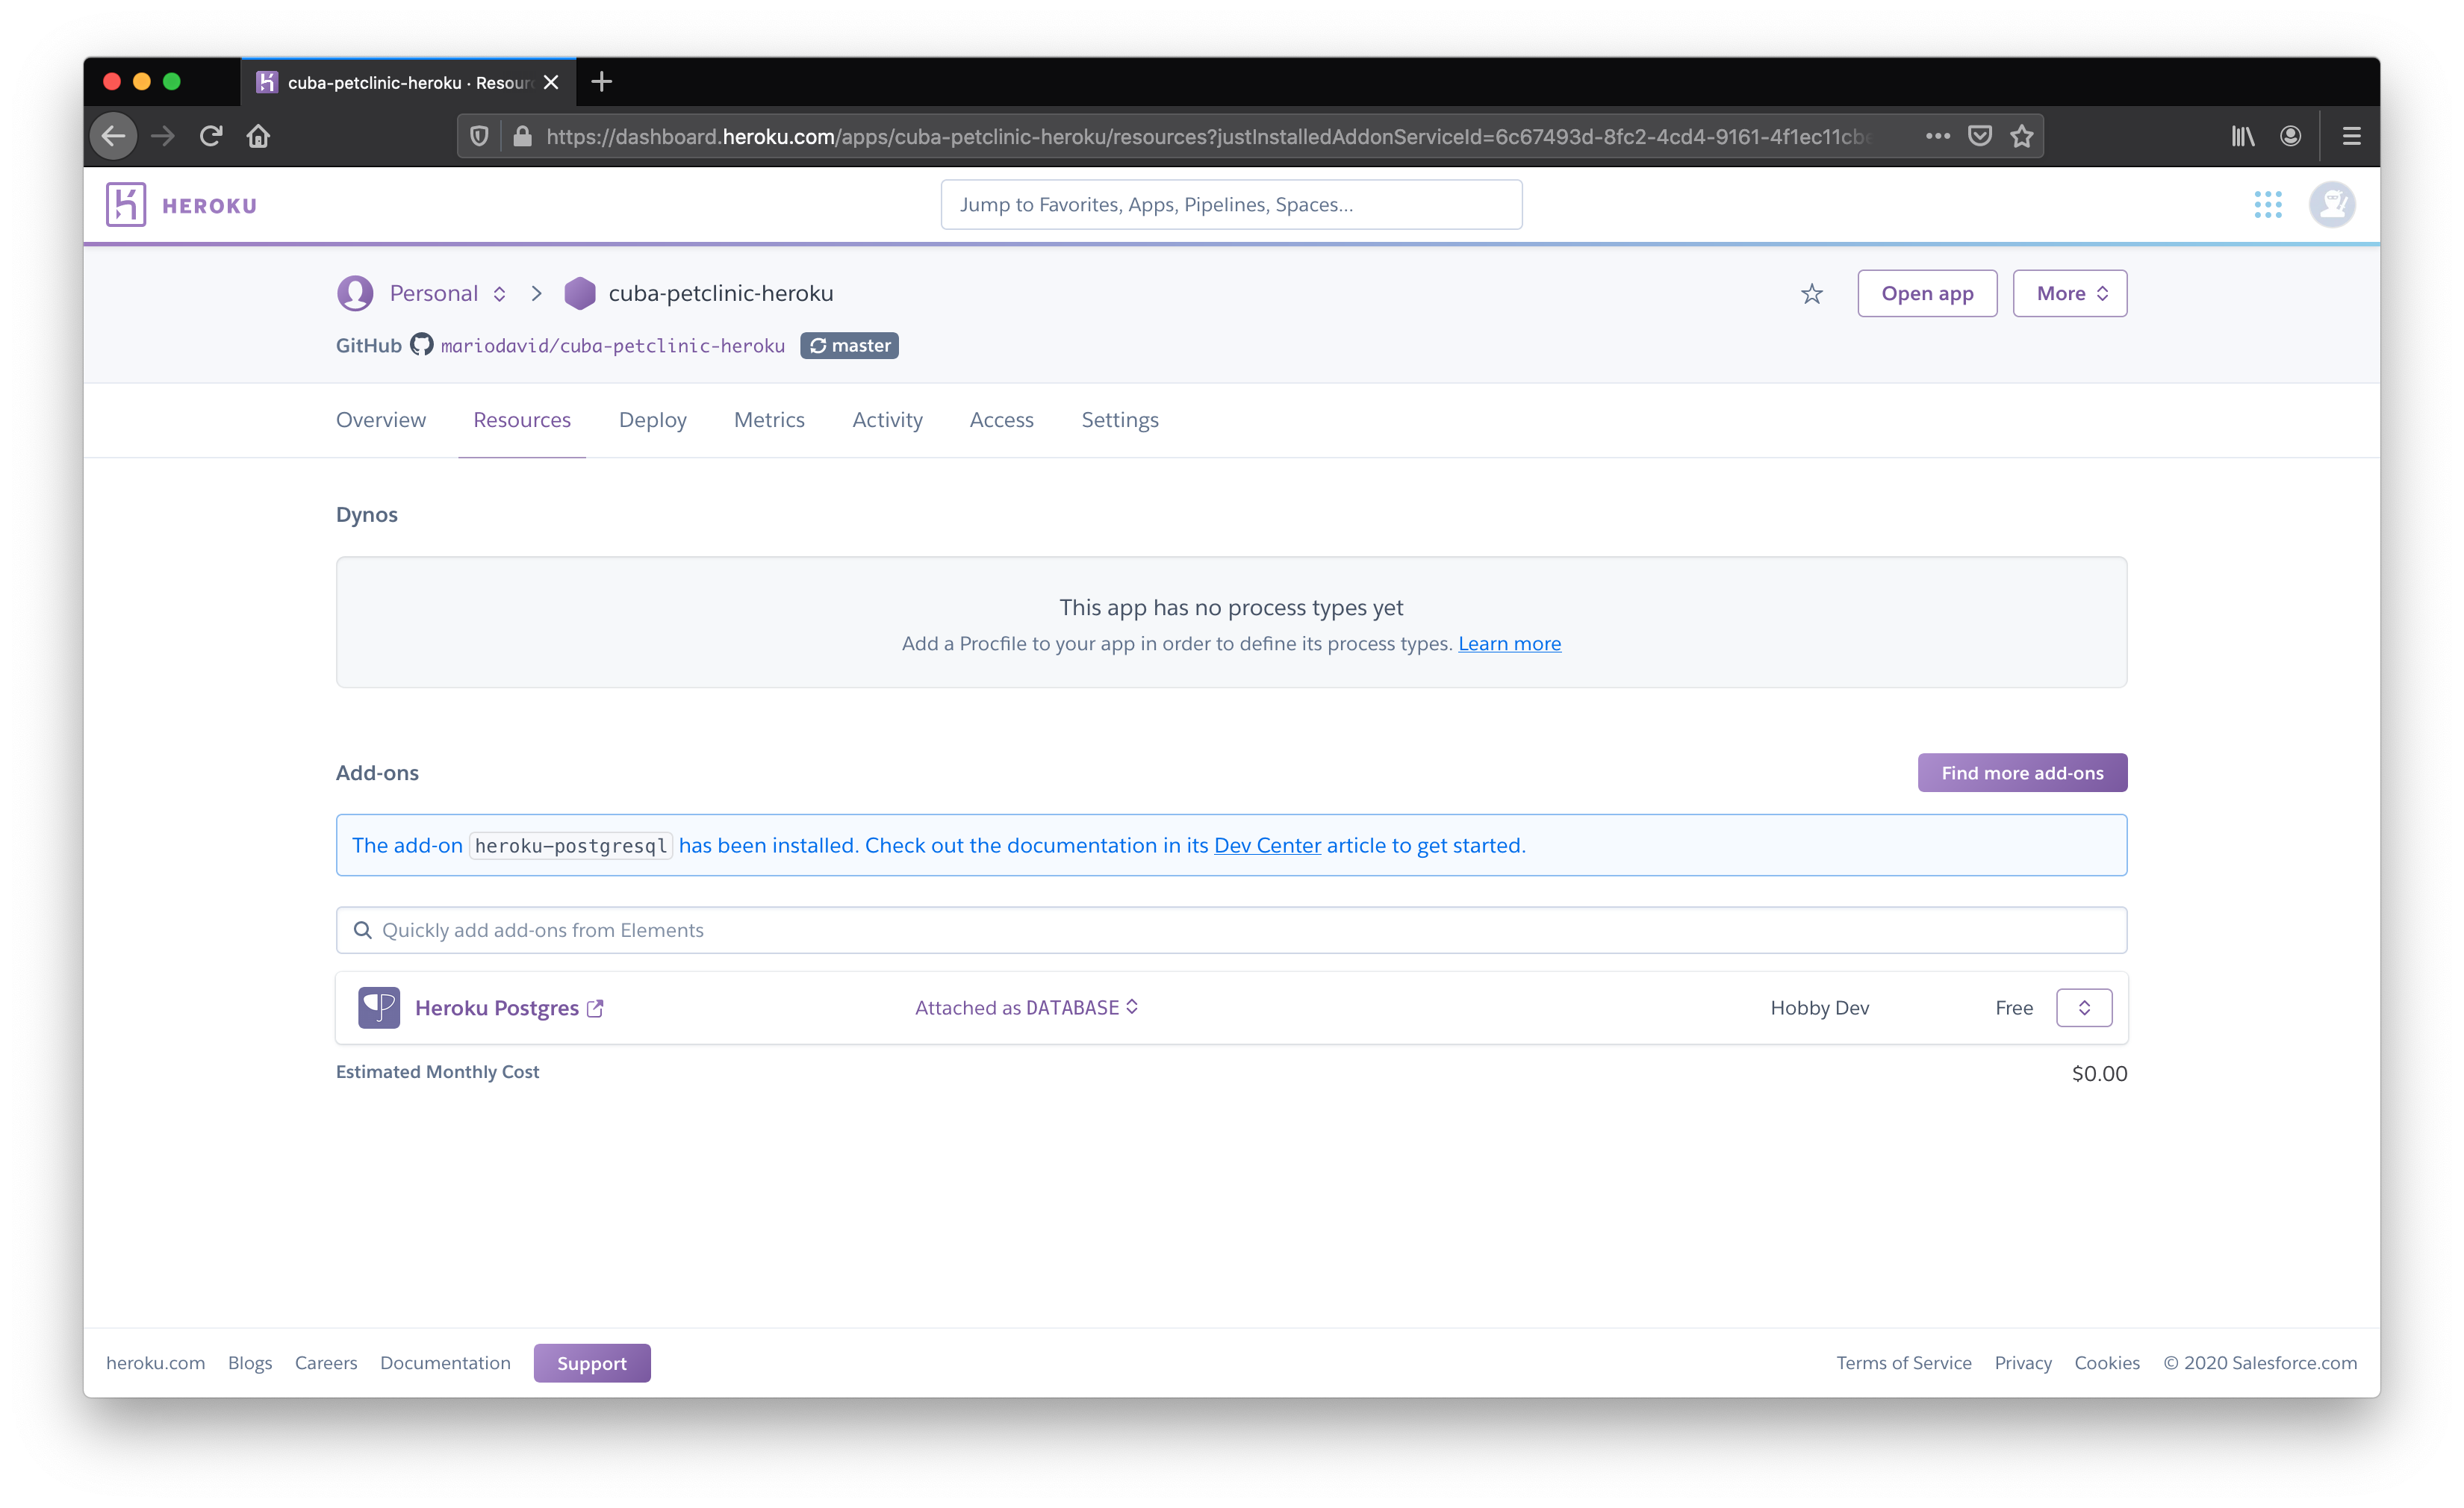
Step 6: Create Postgres DB
To run a CUBA app, it needs a Database. Heroku has tight integration for Postgres databases. What you need to do is to create an add-on in the “Resources” Tab. Just search for “Postgres” and select the “Hobby” plan, which is free as well.

Step 7: Configure the CUBA application
Now everything is set up on the Heroku and Github side. What needs to be done is some small adjustments on the source code of the CUBA app itself, to run nicely in the Heroku environment.
CUBA 7.2 introduced some nice enhancements in the configuration option, that makes the integration even easier.
In particular, we will use a production Spring profile, to configure the Database connection. Furthermore, we will use the ability to let CUBA read in the database credentials from an environment variable, which Heroku automatically creates for us.
Step 7.1: Help Heroku to Build the CUBA app
Heroku will build our CUBA application on our behalf. Heroku knows about the fact that the app is a Gradle application since the CUBA app has a Gradle wrapper configured within the application code.
What it will do is that every time a push to the master branch of the Github repository is executed, Heroku loads the application sources and executes the Gradle task stage.
For that action to succeed, define the gradle task at the bottom of your build.gradle:
task stage(dependsOn: ['setupTomcat', ":${modulePrefix}-core:deploy", ":${modulePrefix}-web:deploy"]) {
    doLast {
        // change port from 8080 to heroku $PORT
        def file = new File('deploy/tomcat/conf/server.xml')
        file.text = file.text.replace('8080', '${port.http}')

        // rename deploy/tomcat/webapps/app to deploy/tomcat/webapps/ROOT
        def rootFolder = new File('deploy/tomcat/webapps/ROOT')
        if (rootFolder.exists()) {
            rootFolder.deleteDir()
        }

        def webAppDir = new File("deploy/tomcat/webapps/${modulePrefix}")
        webAppDir.renameTo(new File(rootFolder.path))

        // add local.app.properties for web application
        def webConfDir = new File('deploy/tomcat/conf/ROOT/')
        webConfDir.mkdirs()
        def webProperties = new File(webConfDir, 'local.app.properties')
        webProperties.text = ''' cuba.webContextName = / '''
    }
}
This task does the setup of the tomcat, builds the app and performs two additional actions that are written there as groovy snippets.
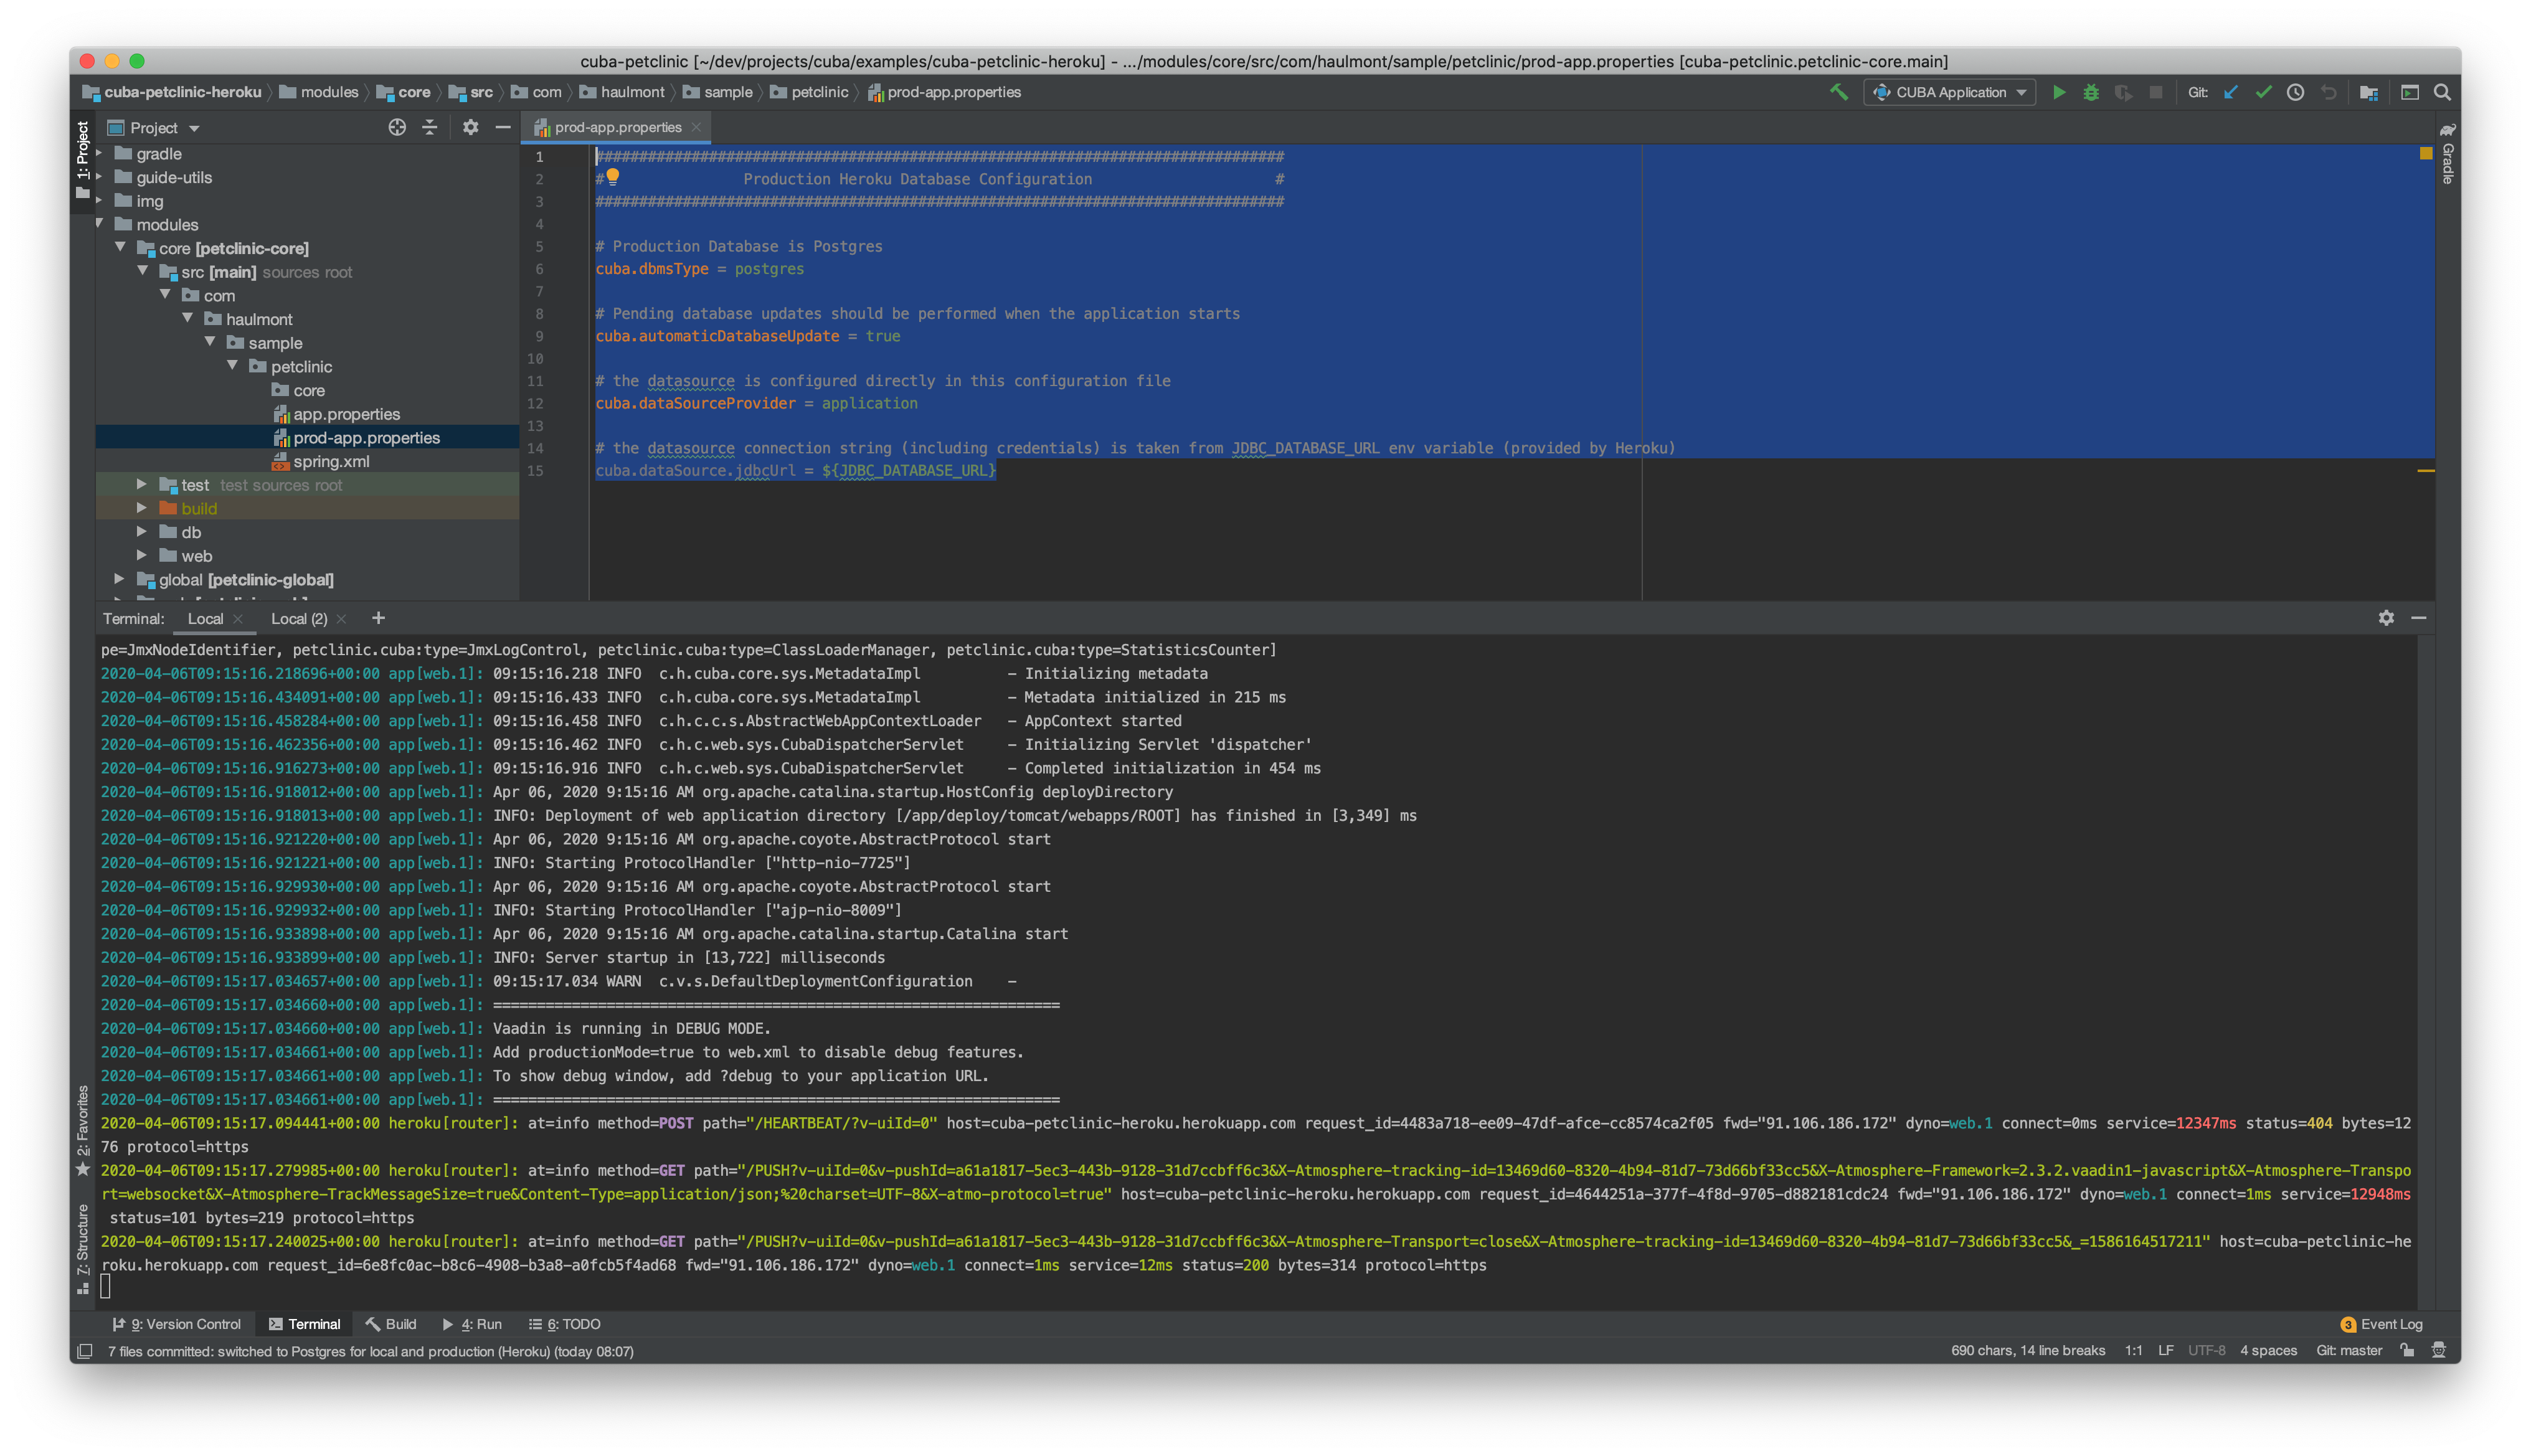
Step 7.2: Tell CUBA how to connect to the Heroku DB
The next part is to explain CUBA how to connect to the newly created Heroku DB.
CUBA 7.2 introduced the following three new configuration capabilities in app.properties that make this process easier:
- use OS Environment variables in configuration files
- configure the datasource connection directly in the configuration files
- use profile-specific configuration files
In the core module, add the file prod-app.properties with the following content:
###############################################################################
#                Production Heroku Database Configuration                     #
###############################################################################

# Production Database is Postgres
cuba.dbmsType = postgres

# Pending database updates should be performed when the application starts
cuba.automaticDatabaseUpdate = true

# the datasource is configured directly in this configuration file
cuba.dataSourceProvider = application

# the datasource connection string (including credentials) is taken from JDBC_DATABASE_URL env variable (provided by Heroku)
cuba.dataSource.jdbcUrl = ${JDBC_DATABASE_URL}
The nice thing about the Heroku DB connection here, is the OS Environment variable JDBC_DATABASE_URL. Heroku automatically populates this variable with the complete information on how to connect to the database (including credentials).
Step 7.3: Help Heroku run the CUBA app
In order for Heroku to know what it needs to do when it comes to running the application, the source code can define the action it should do. For that, we create a file with the name Procfile in the root directory of the application (see: Procfile). It contains the following information:
web: cd ./deploy/tomcat/bin && export 'JAVA_OPTS=-Dport.http=$PORT -Dspring.profiles.active=prod' && ./catalina.sh runHere we tell Heroku how to start the tomcat. Additionally with -Dspring.profiles.active=prod we define which Spring profile should be used. This way CUBA will pick up the profile specific configuration file prod-app.properties from 7.2.

Step 8: Deploy the Petclinic
Now everything is set up so that Heroku will deploy the application once a Github push occurs.
To trigger that you can change anything in the Repository, like creating an Entity or just fix a typo in the README. After you have pushed your changes to the Repository, Heroku will be informed:
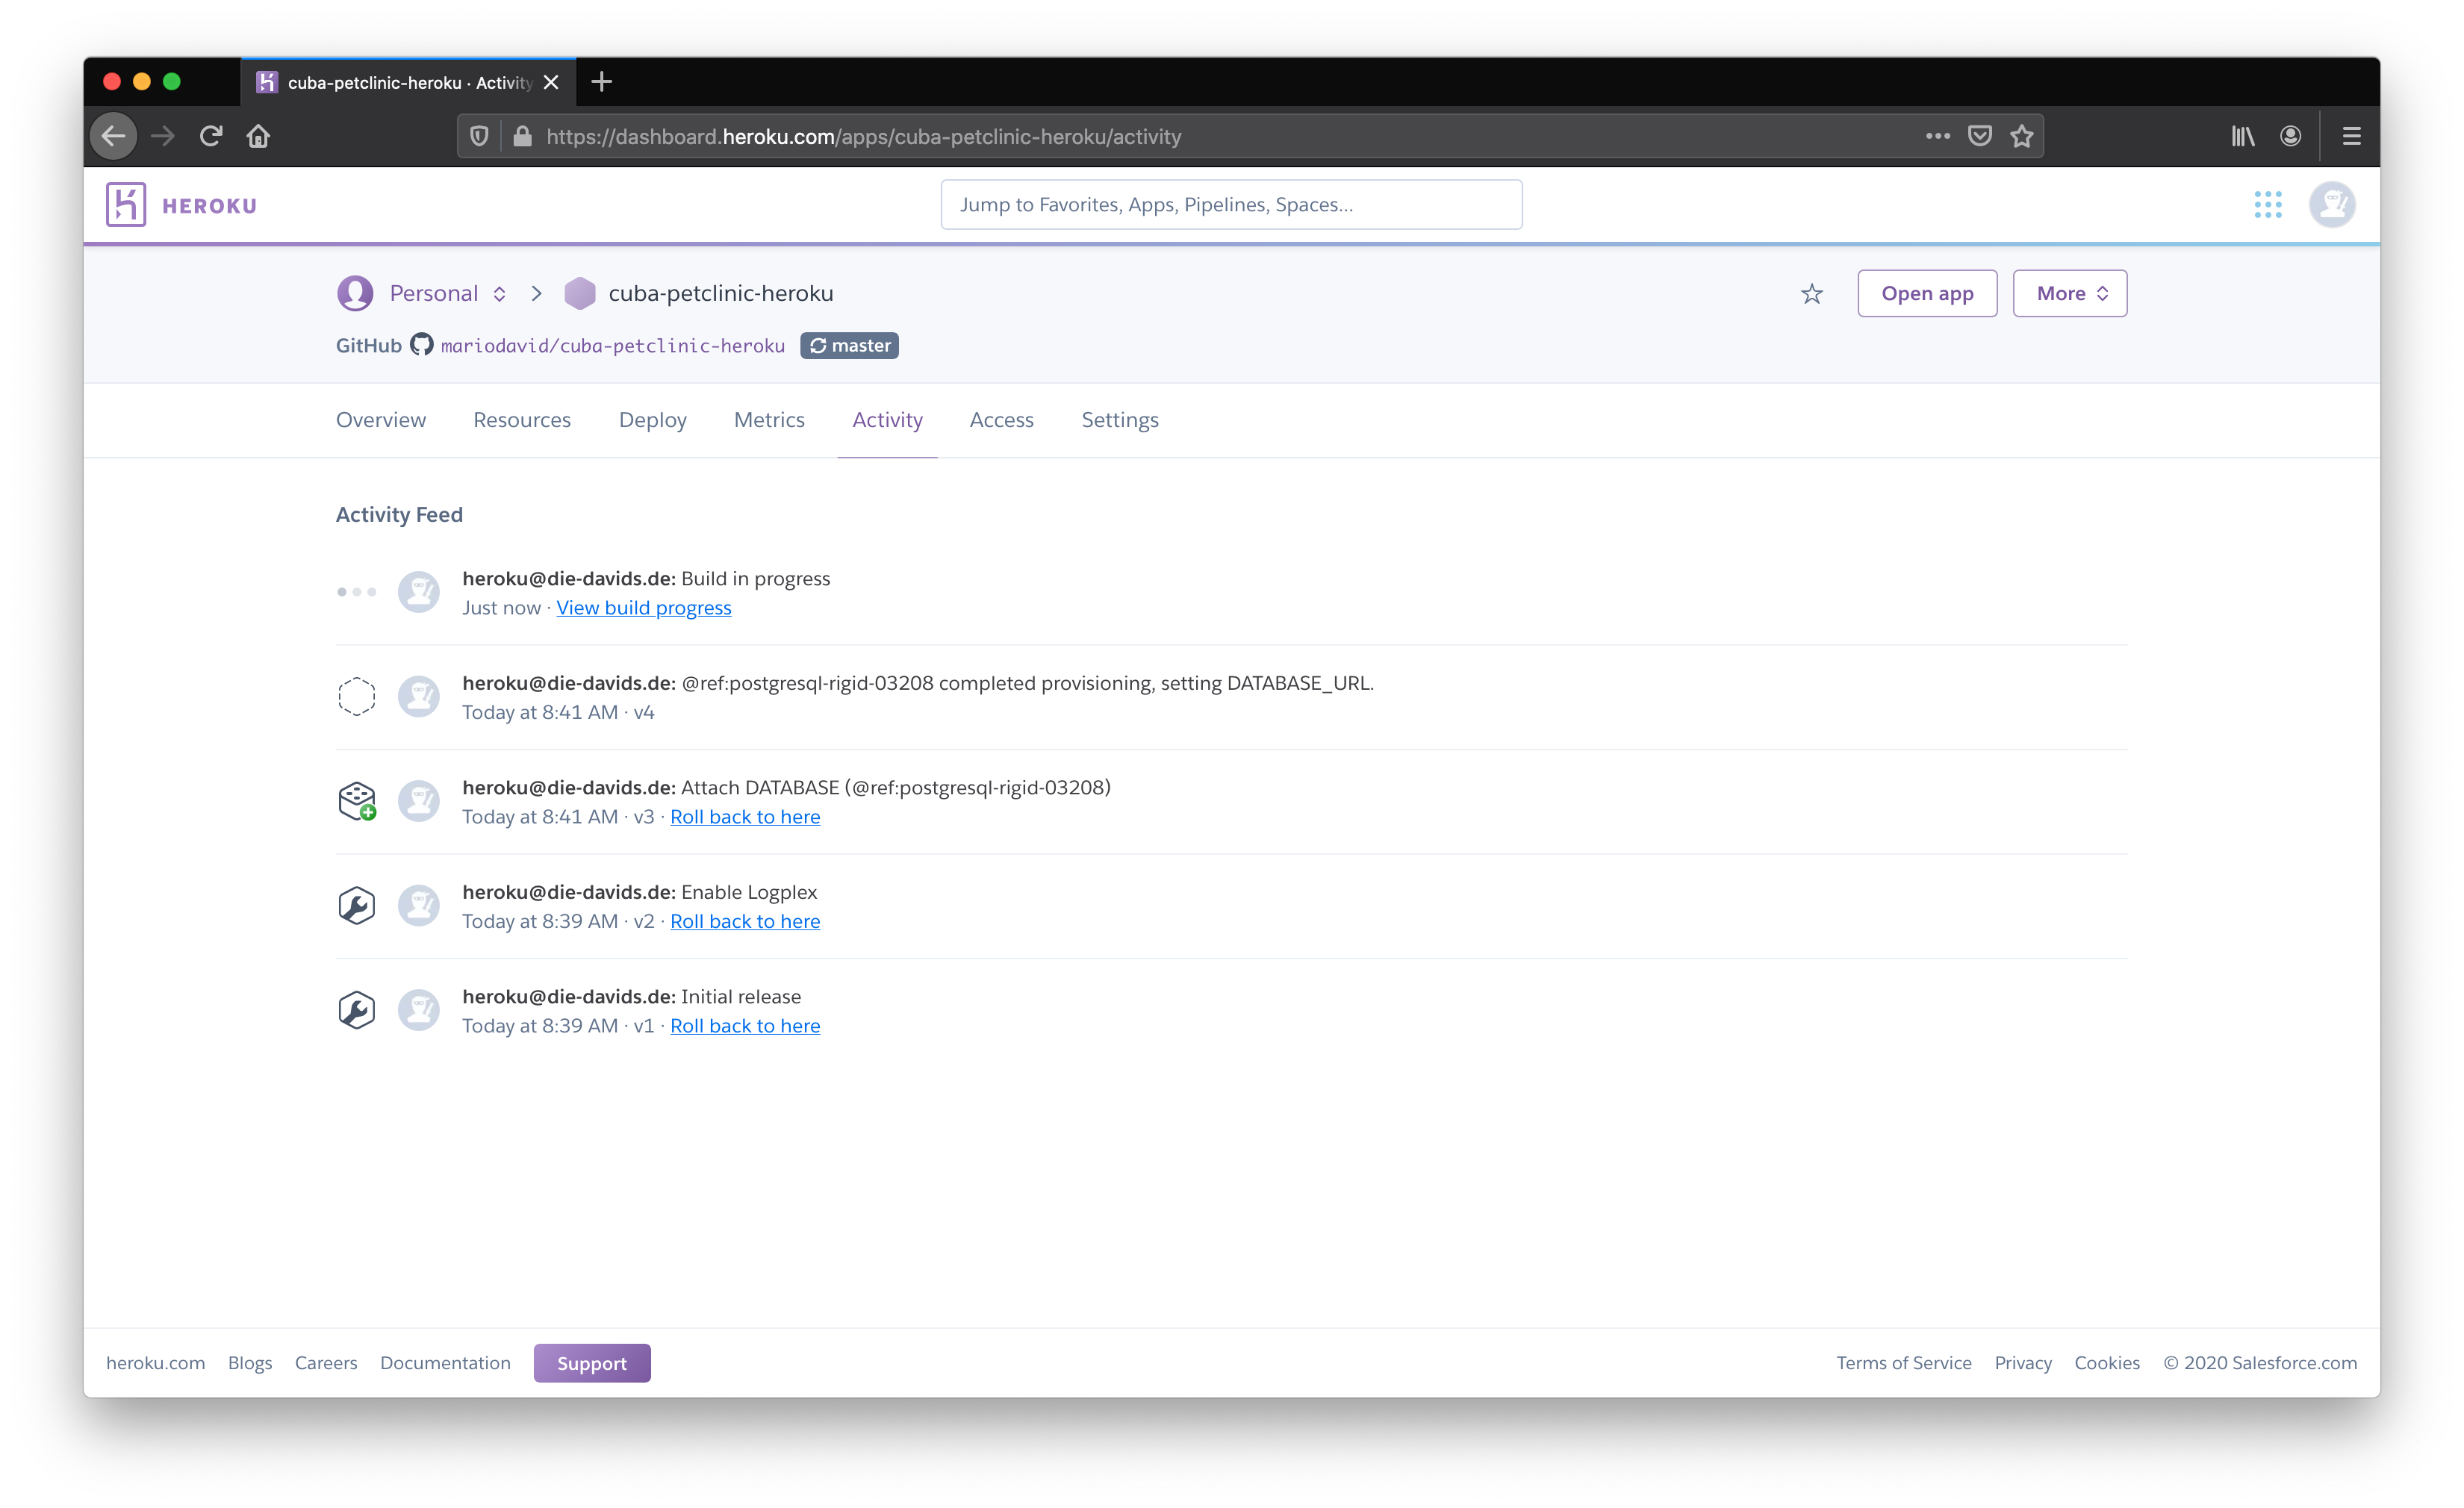
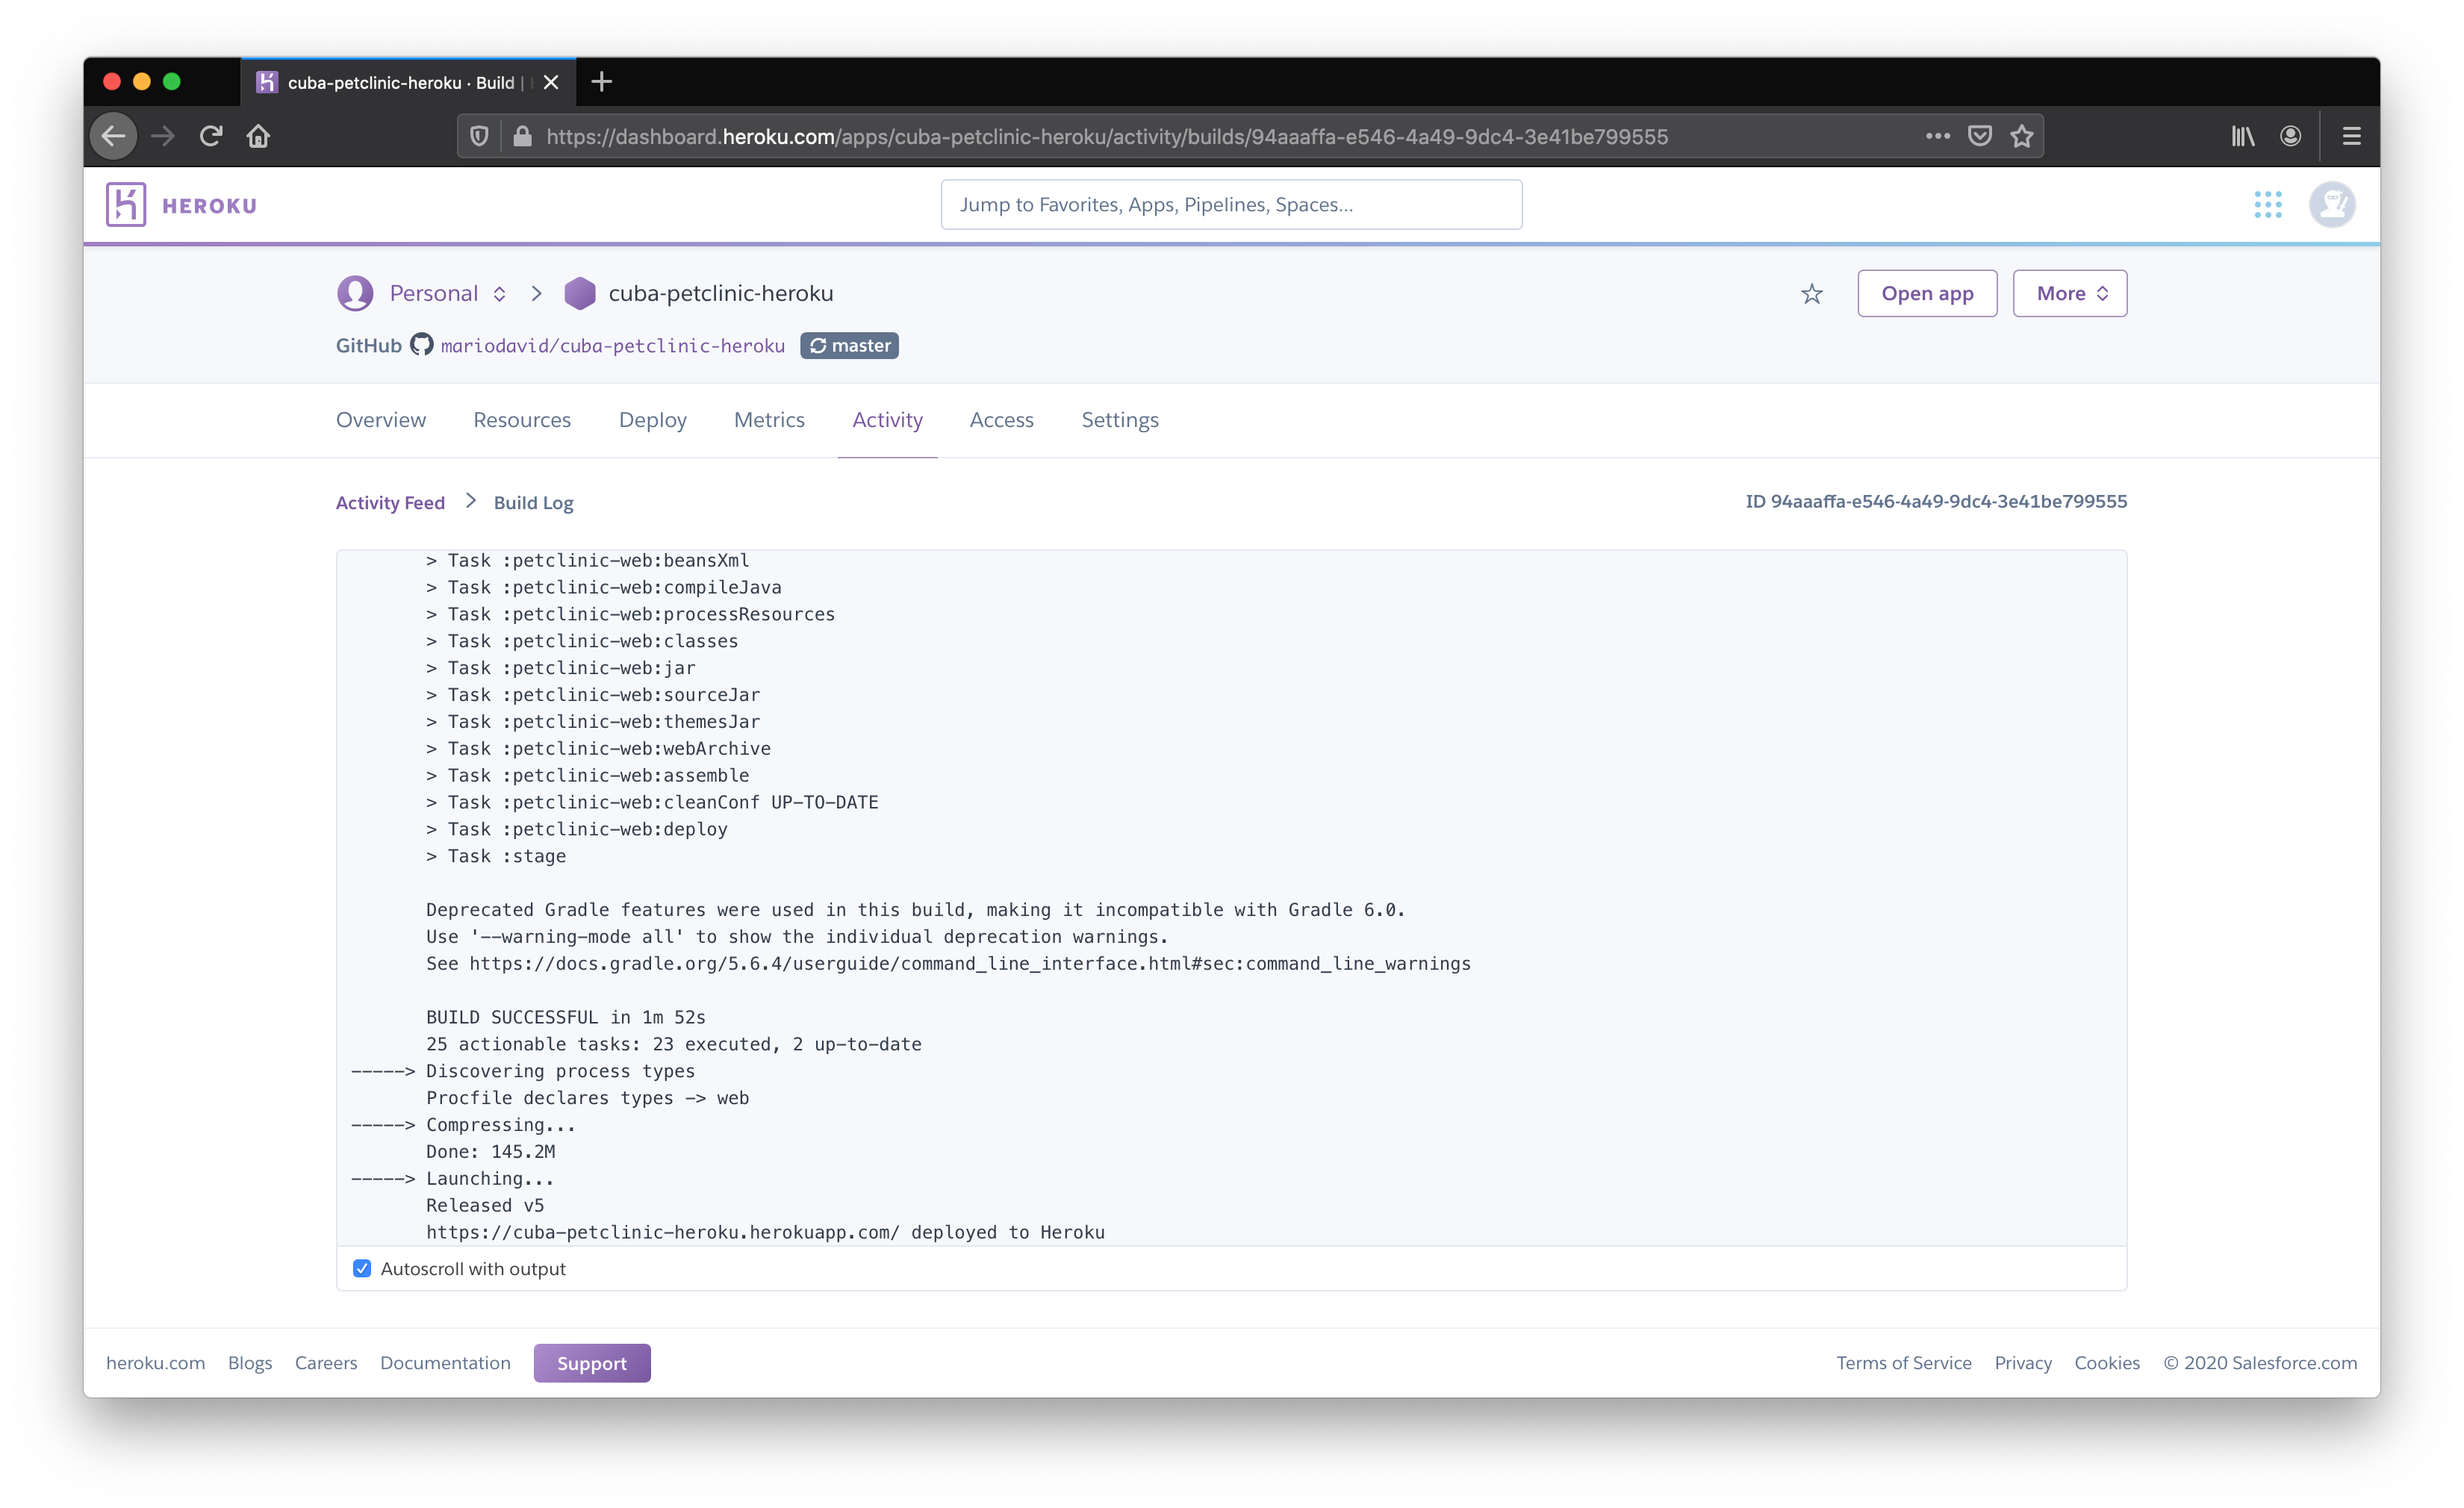

Step 9: Looking at the Application Logs
Once the Deployment is performed the Logs of the CUBA application are accessible either directly in the UI of Heroku,
or via the Heroku CLI. The command heroku logs --tail will give you direct access to the logs inside your
terminal / IDE.

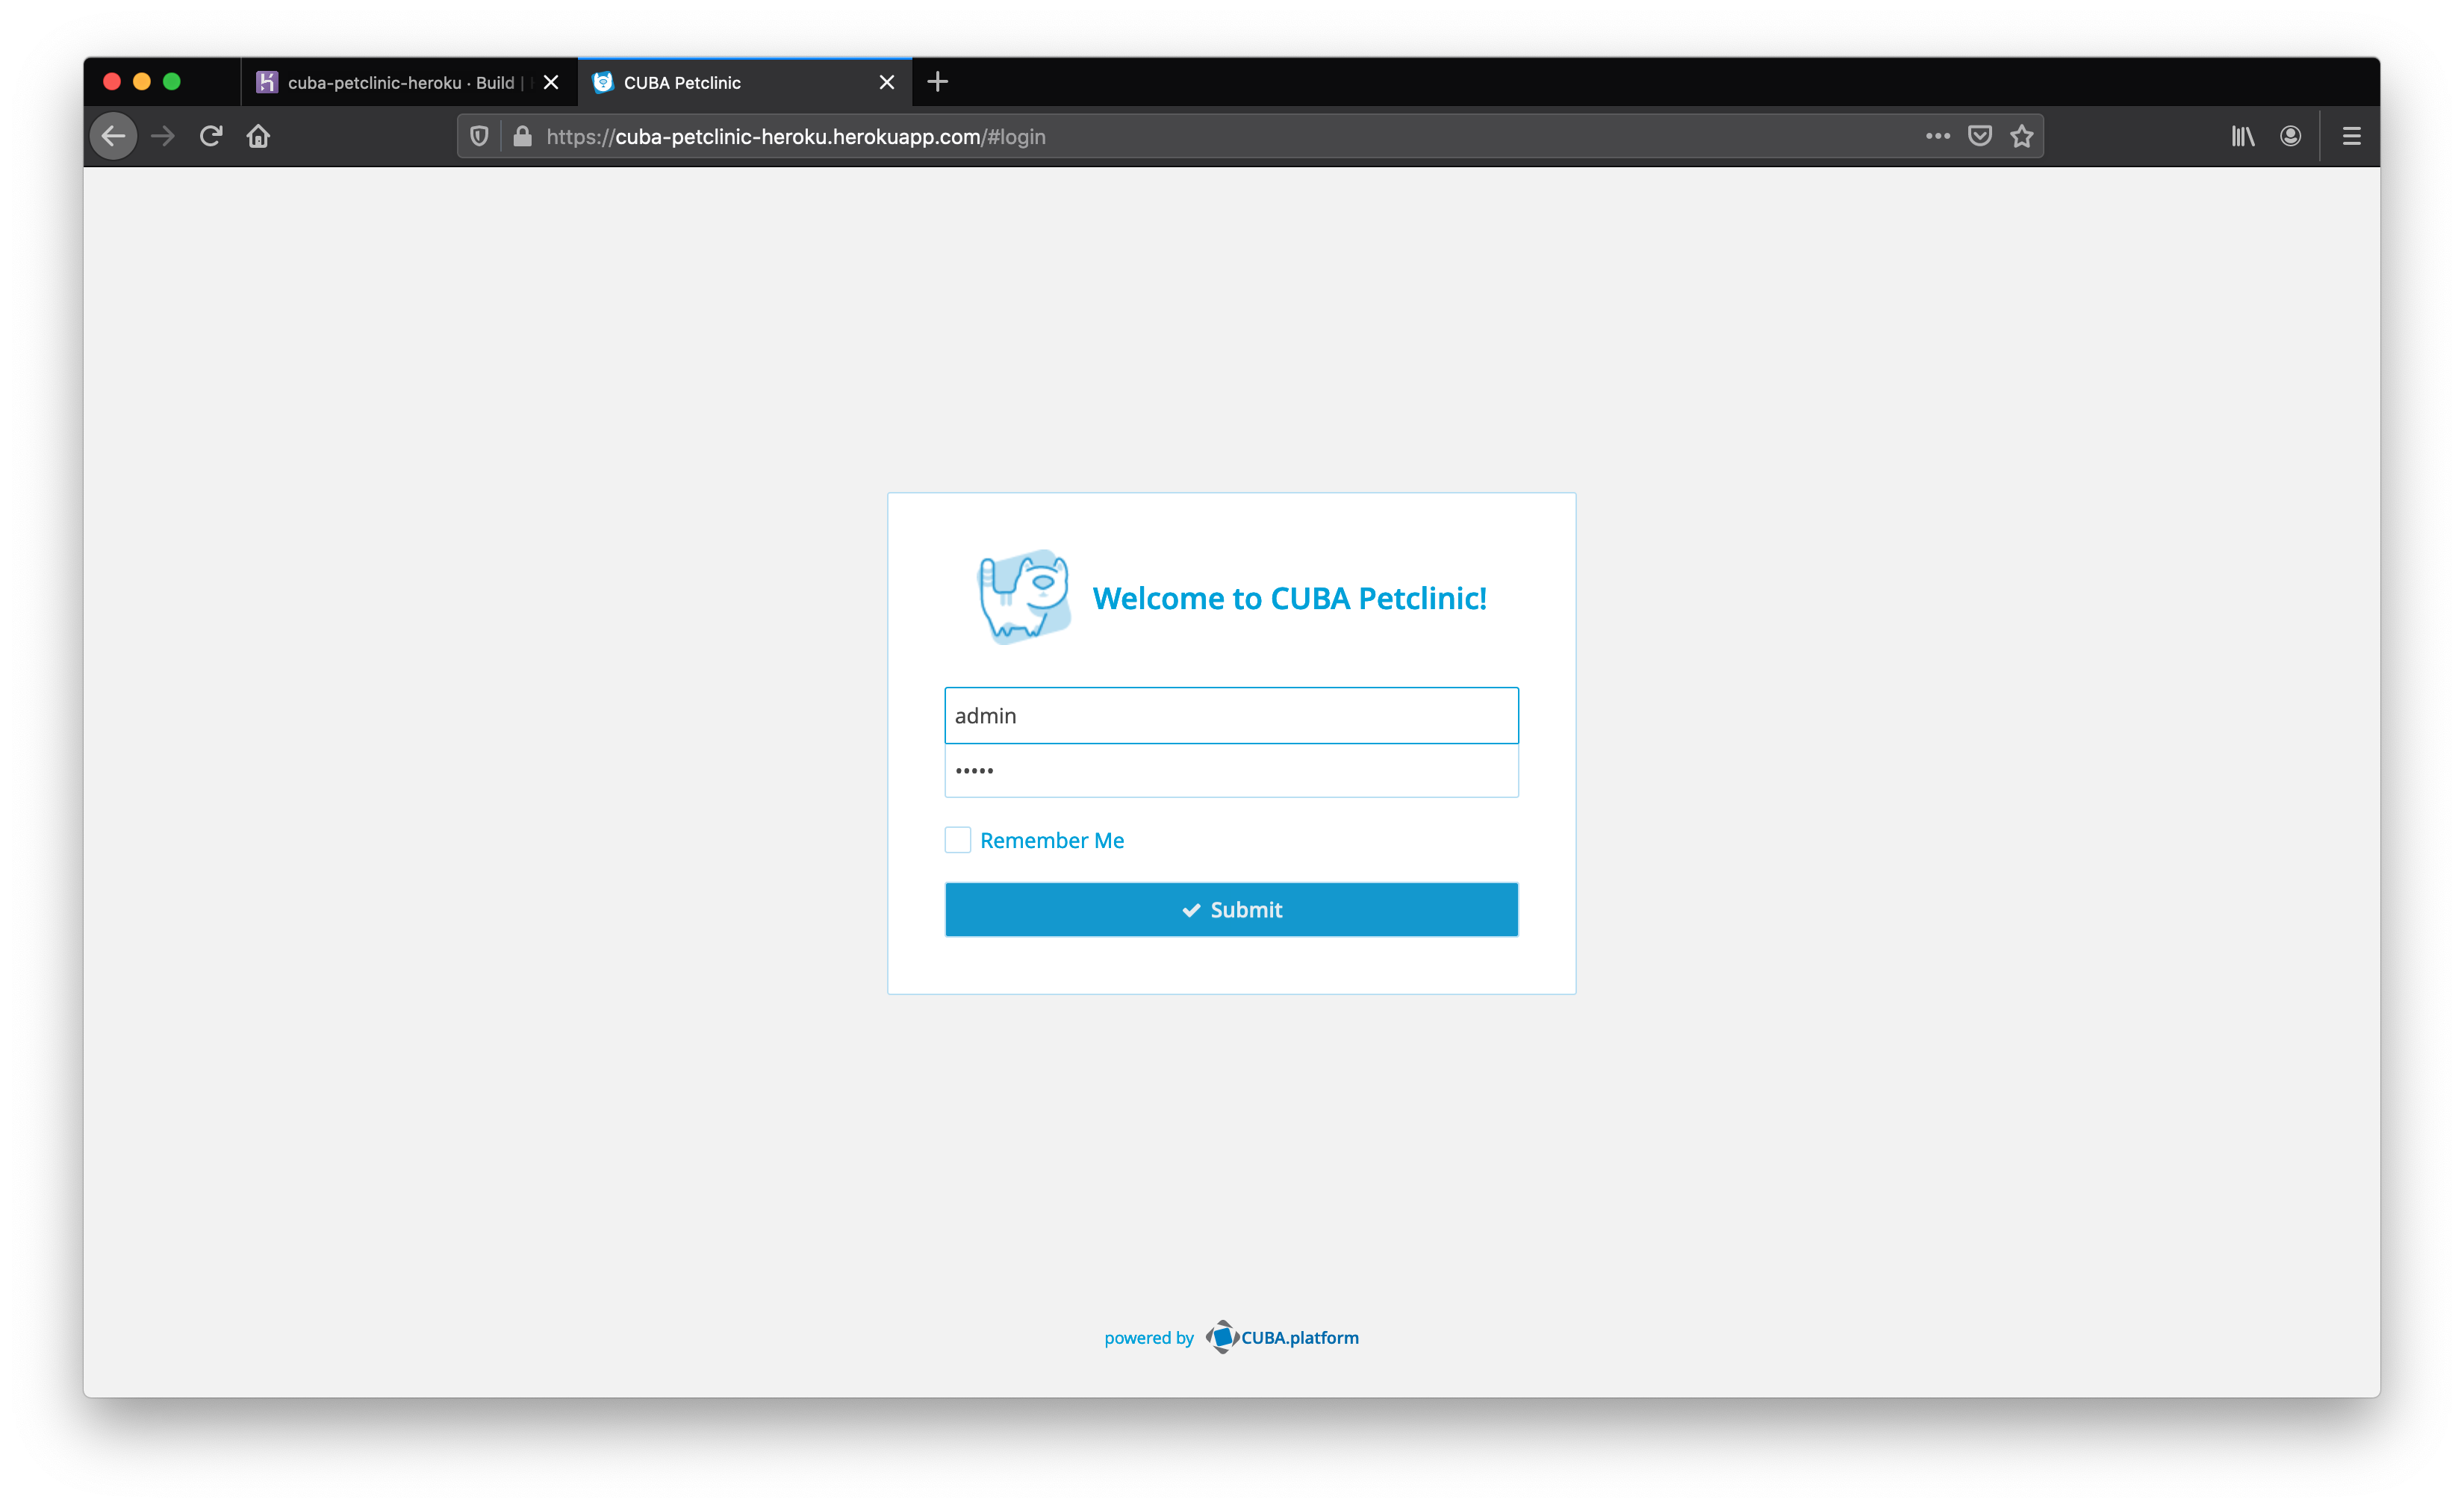
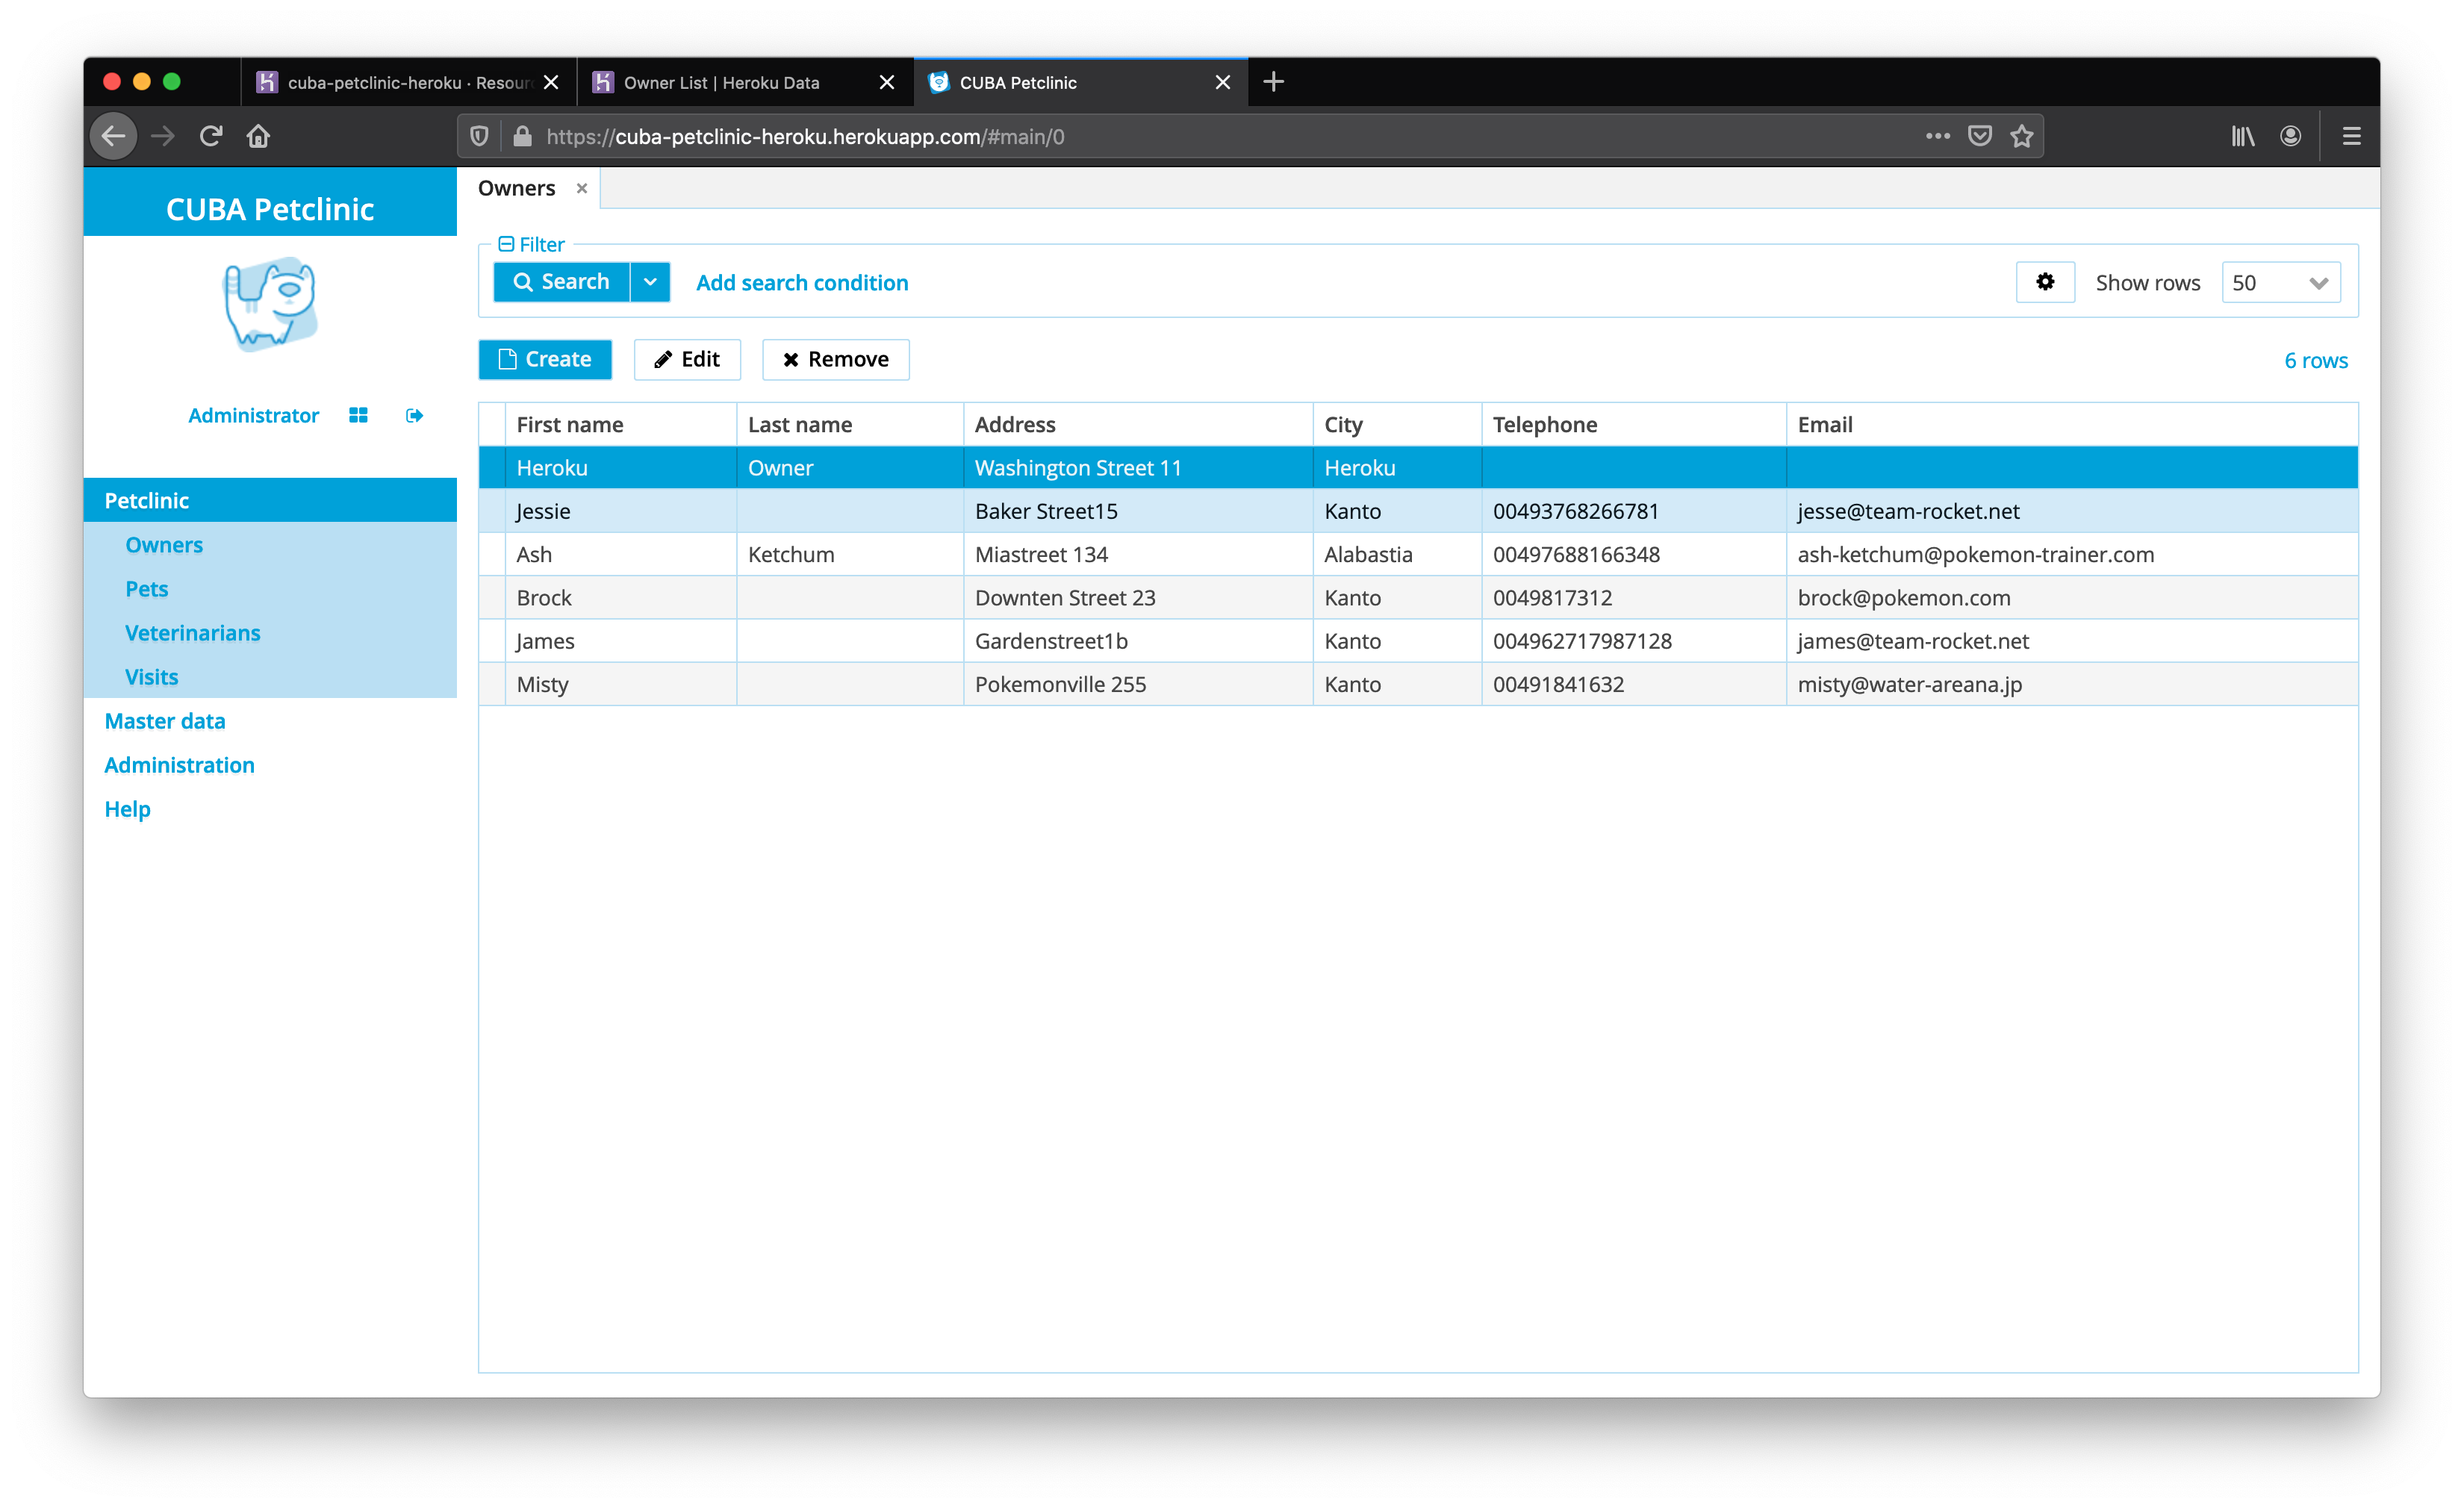
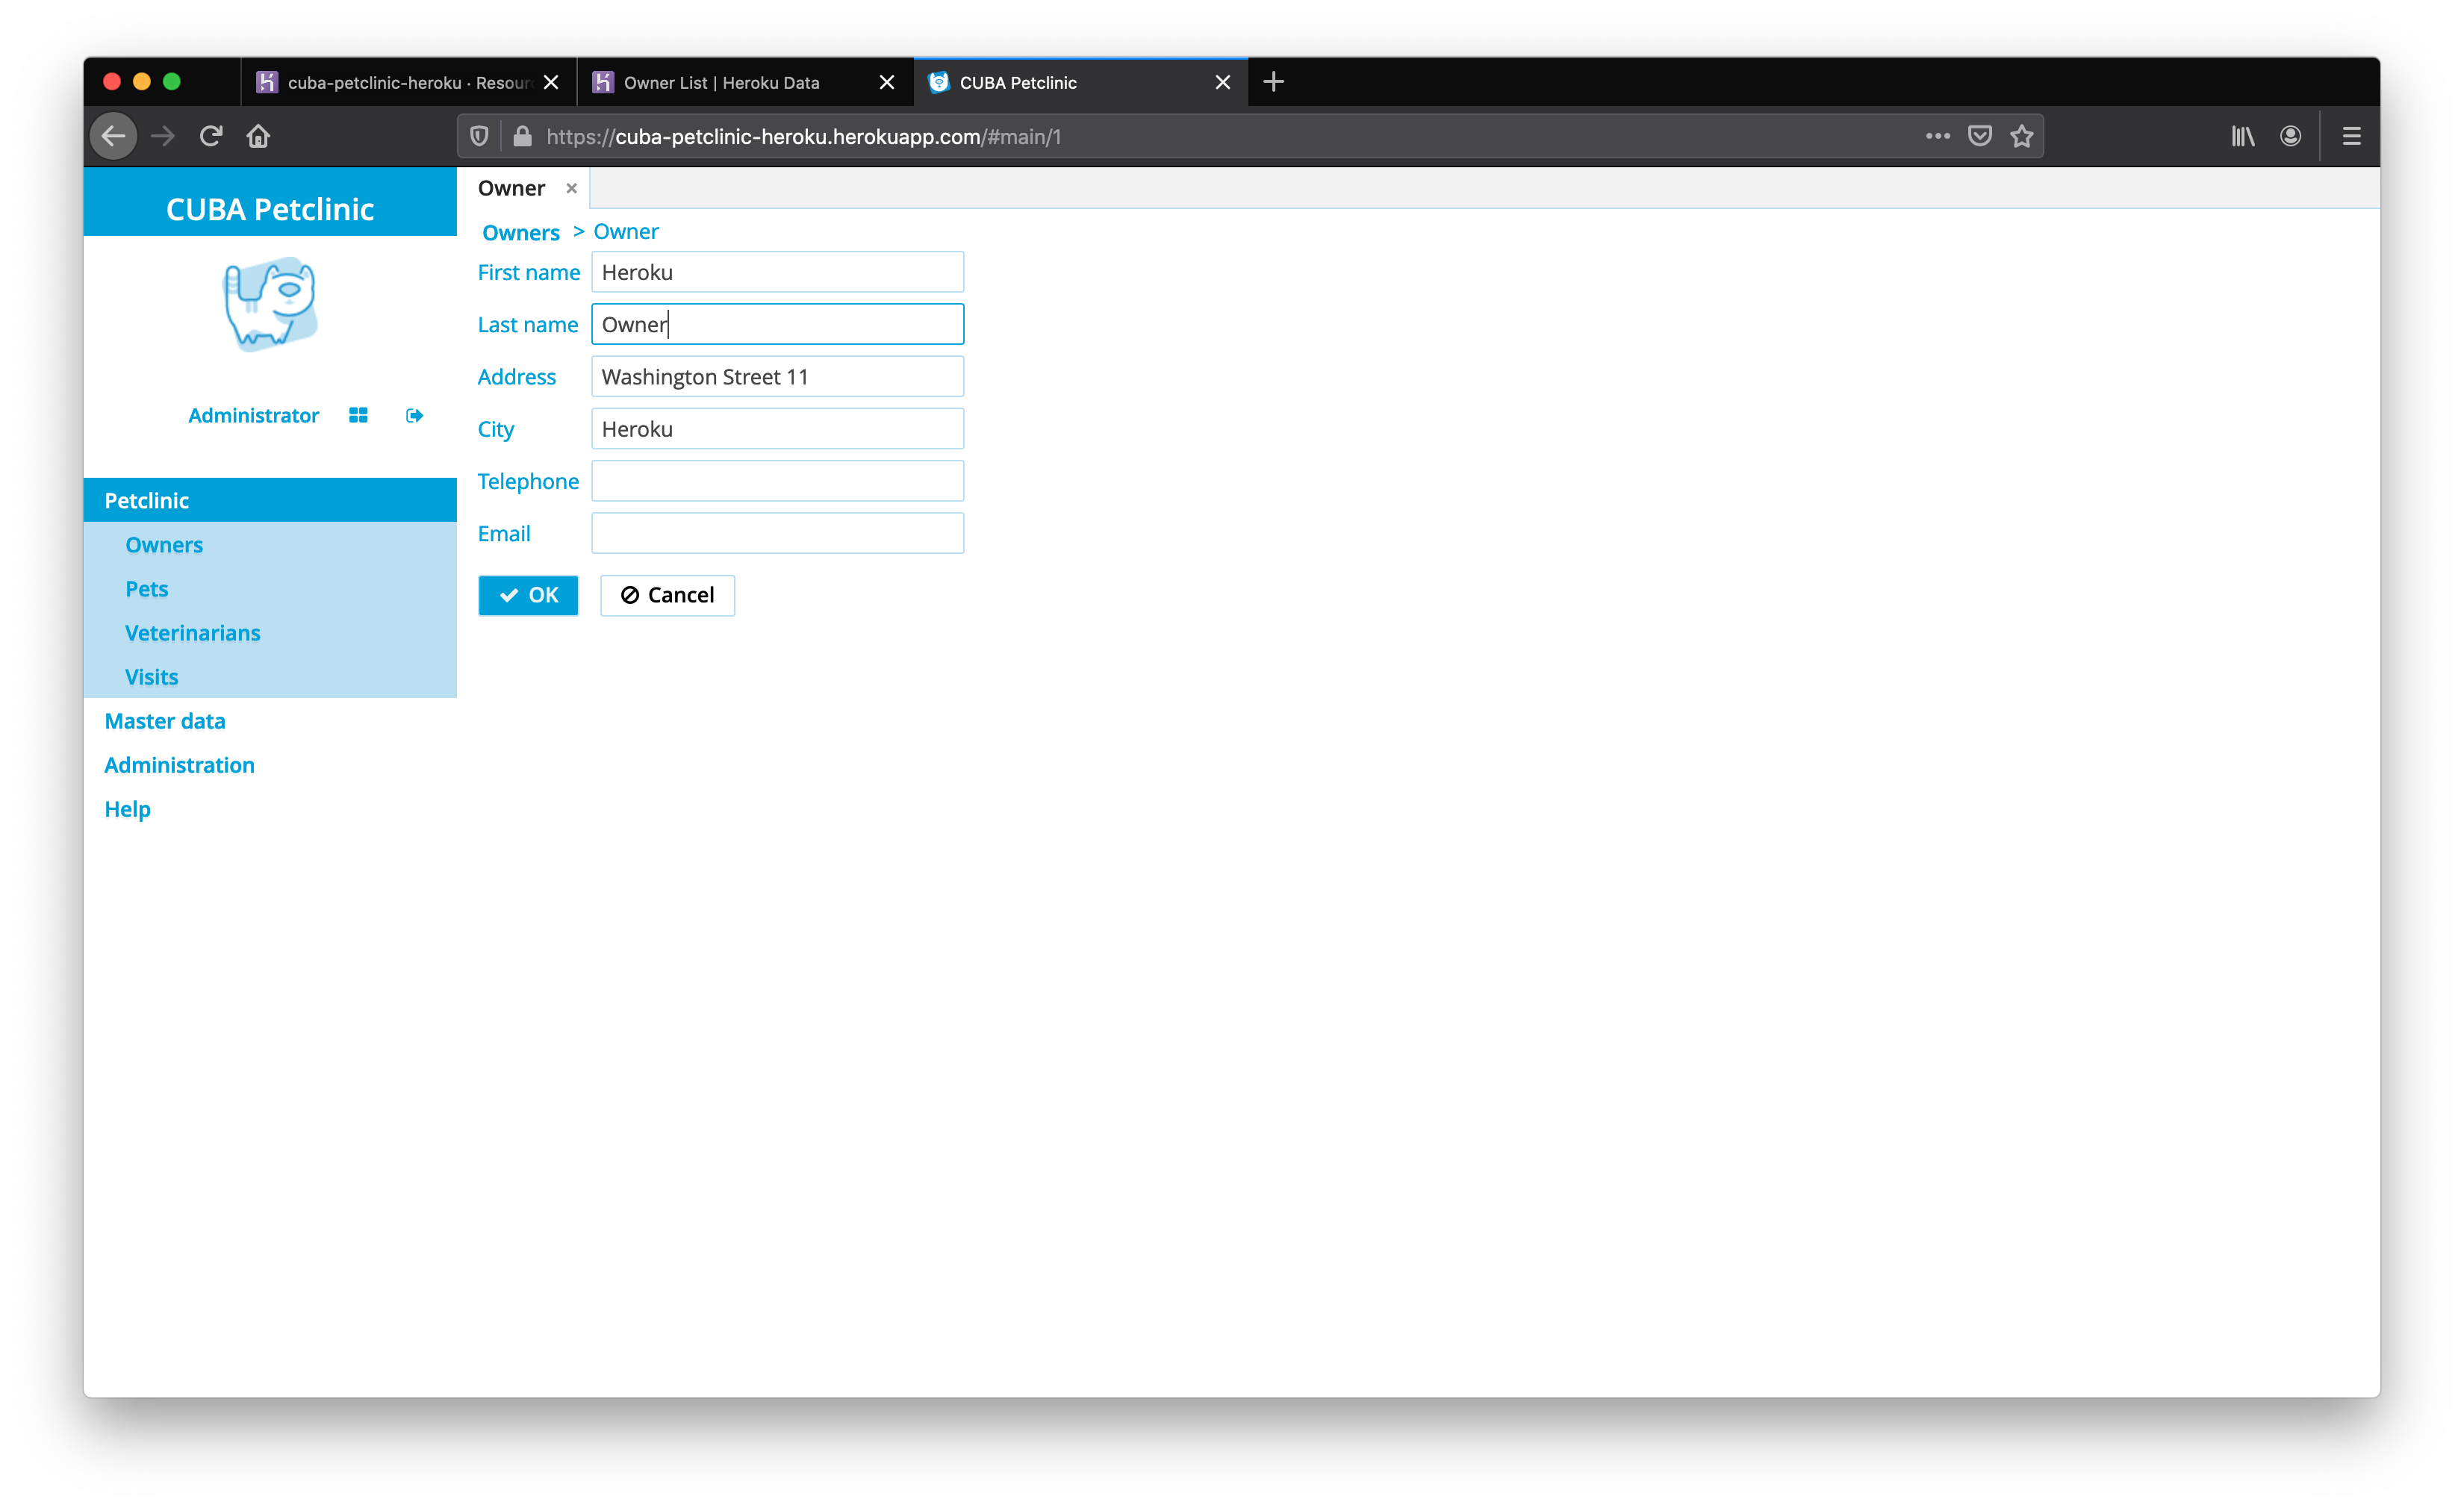
Step 10: Using the Petclinic App
Now the Petclinic app is up and running. You can open the app via the URL https://APP_NAME.herokuapp.com where the APP_NAME is the Heroku app name you defined at step 3.
Alternatively, if you have installed and logged in with the Heroku CLI, you can just use heroku open, which will open the browser:
Summary

As you have seen it is comparably simple to deploy a CUBA application to Heroku. It only takes a couple of minutes with a production environment that is at least achieving a baseline of non-functional requirements when it comes to speed, high-availability, Security, etc.
Furthermore, with the connection to Github, most of the CI deployment configuration magically goes away.
As CUBA inherently allows you to mainly focus on the business logic part of the application, so does Heroku when it comes to the deployment and managing aspect of the application in production.